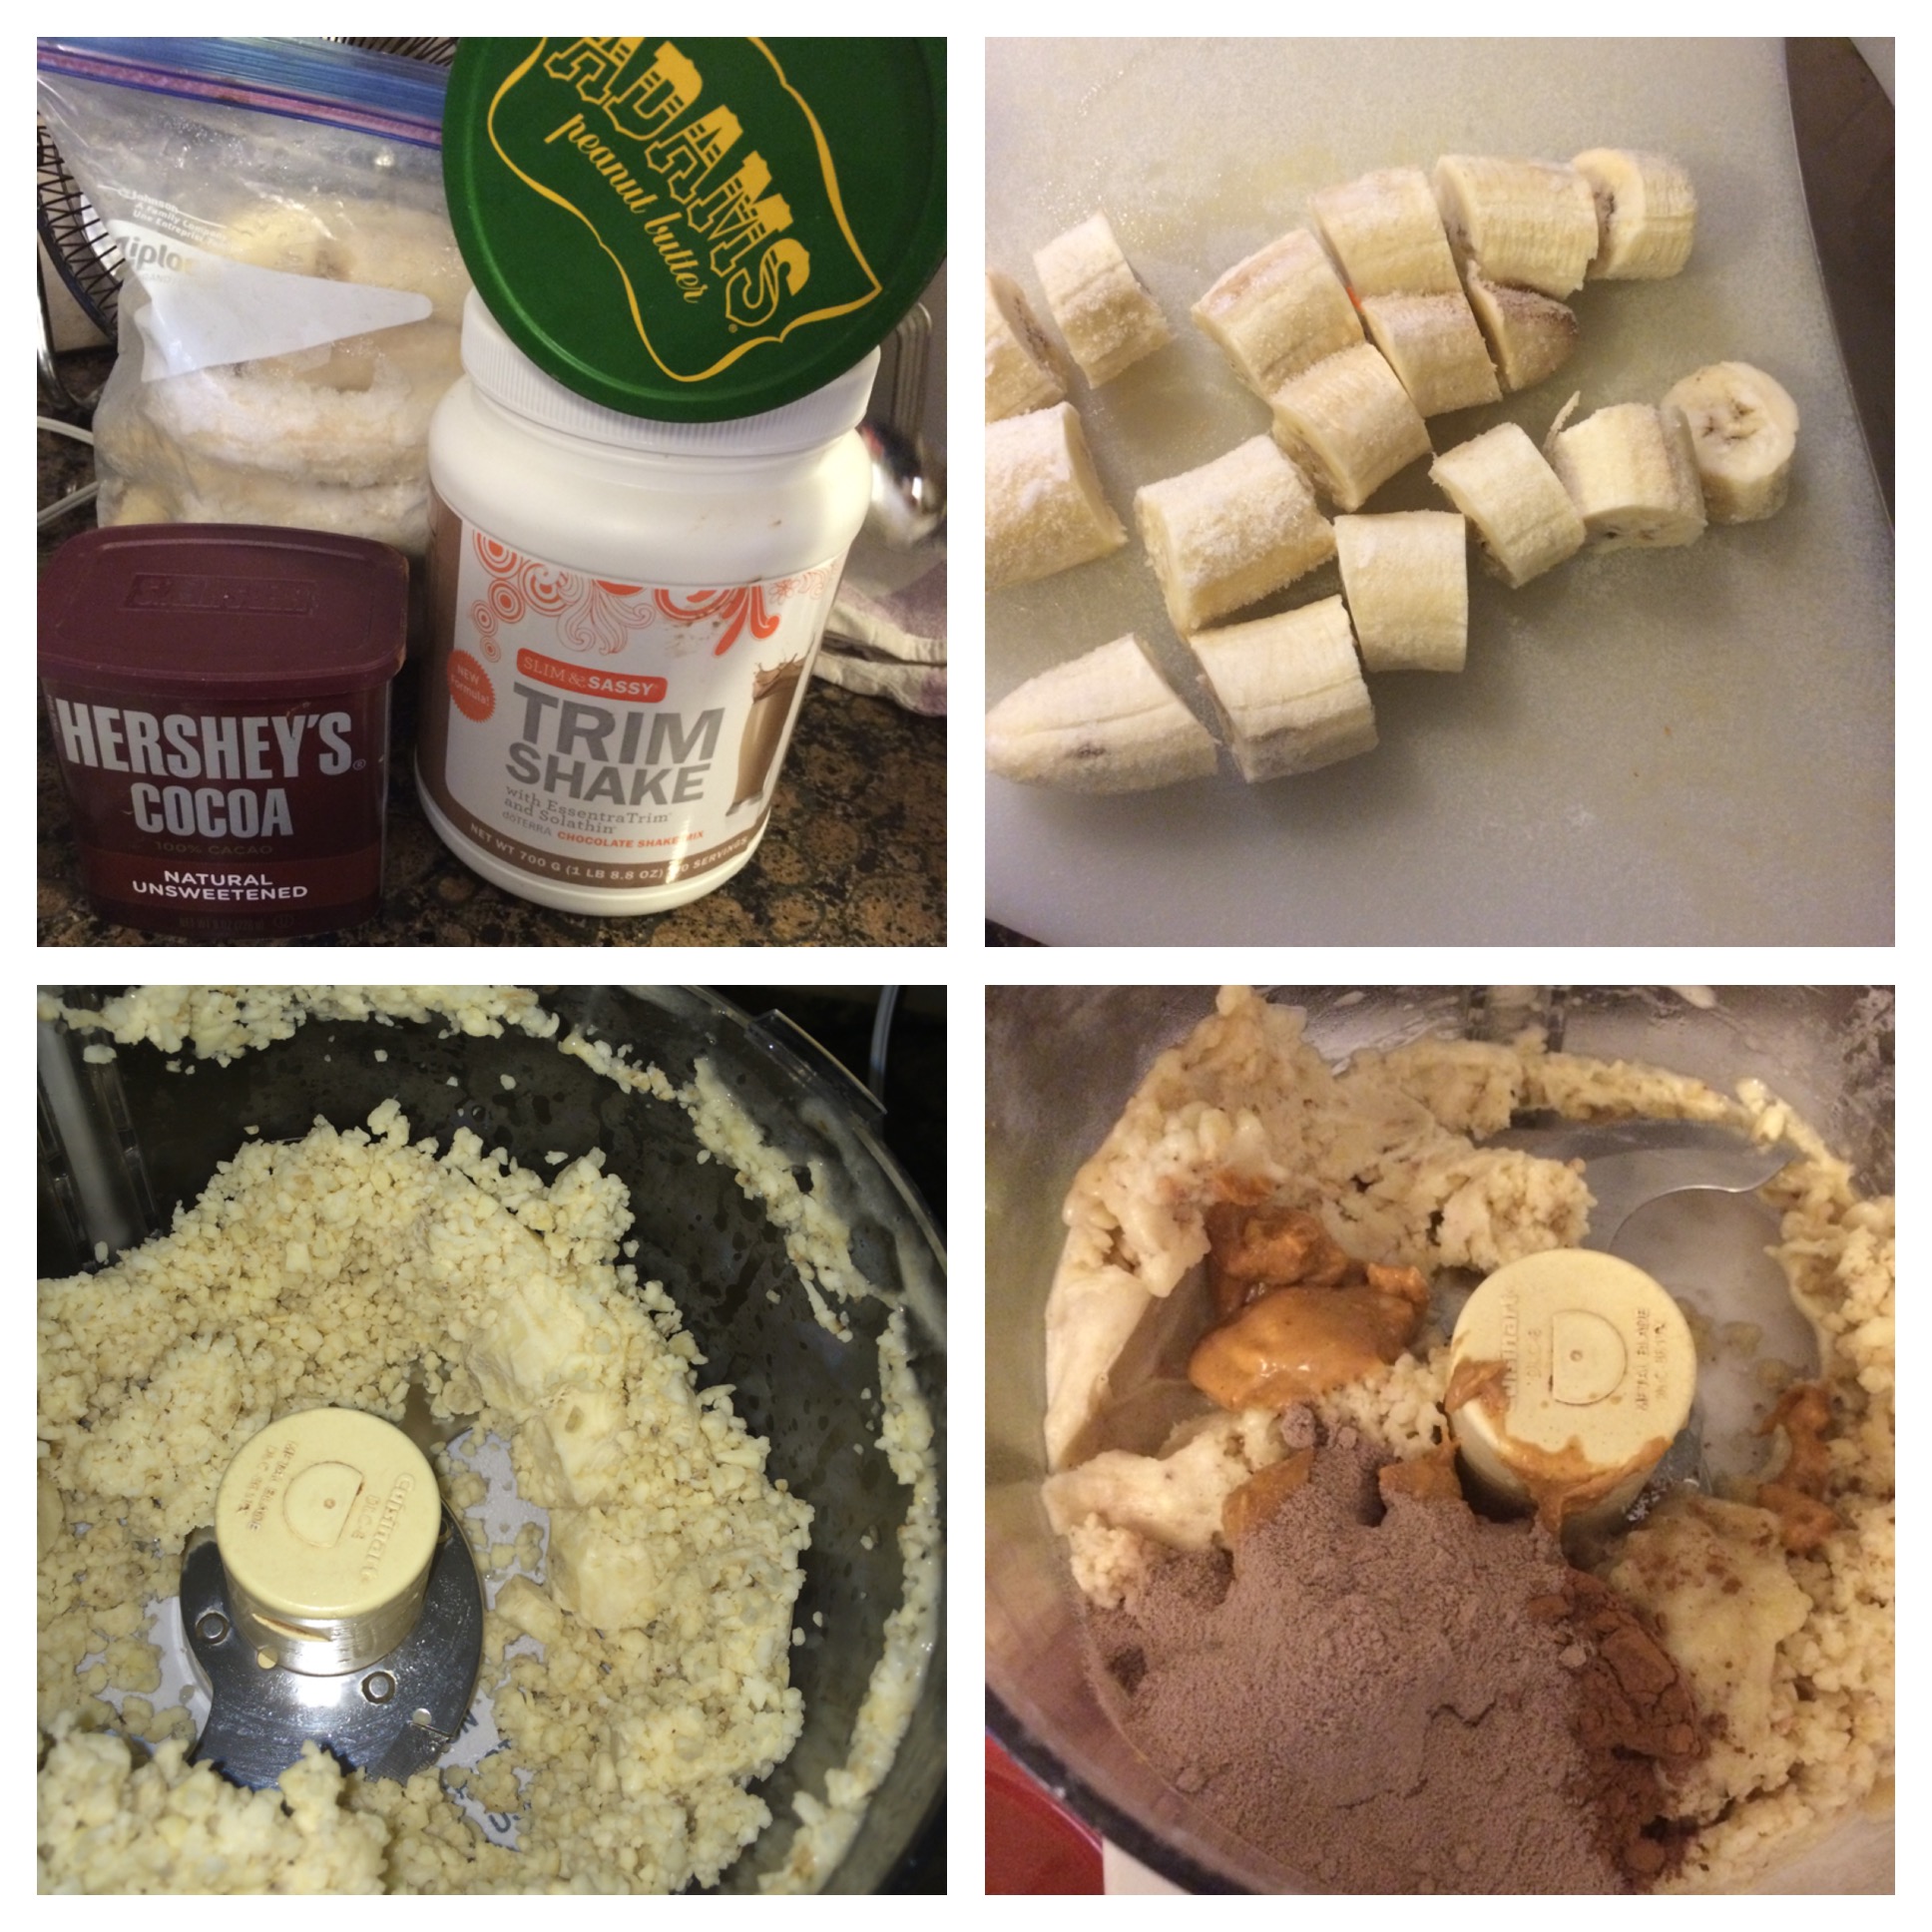
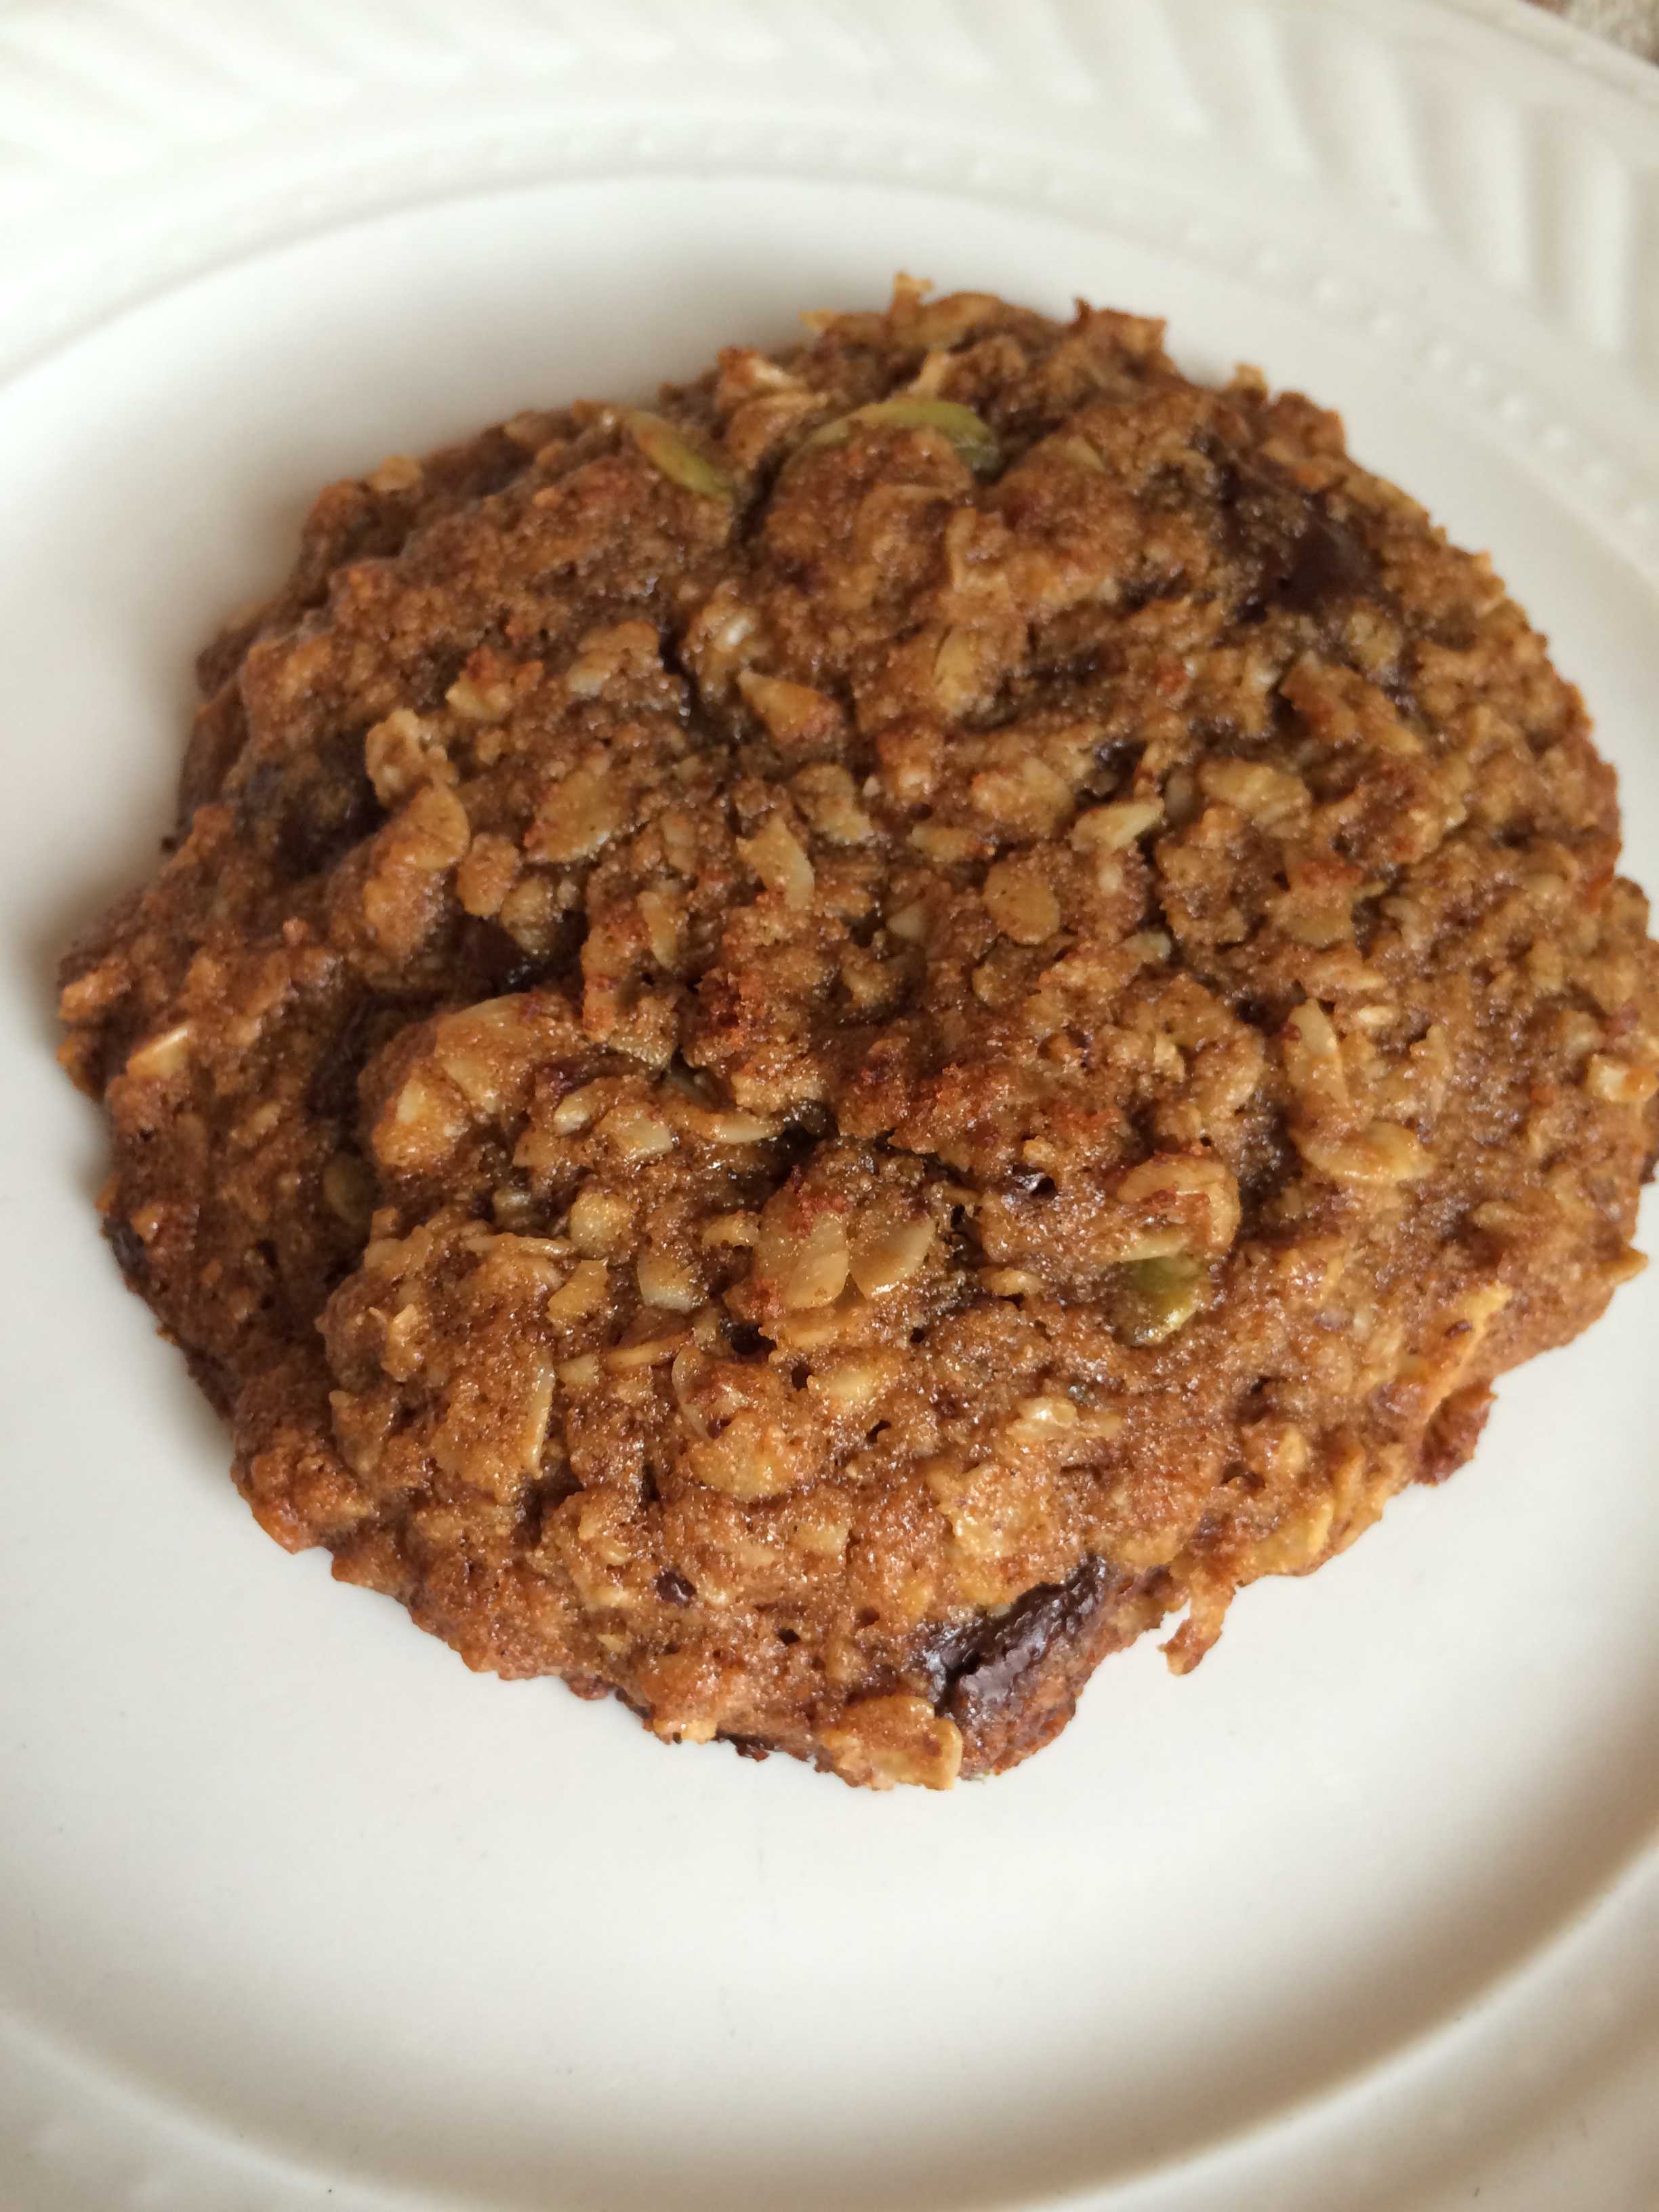
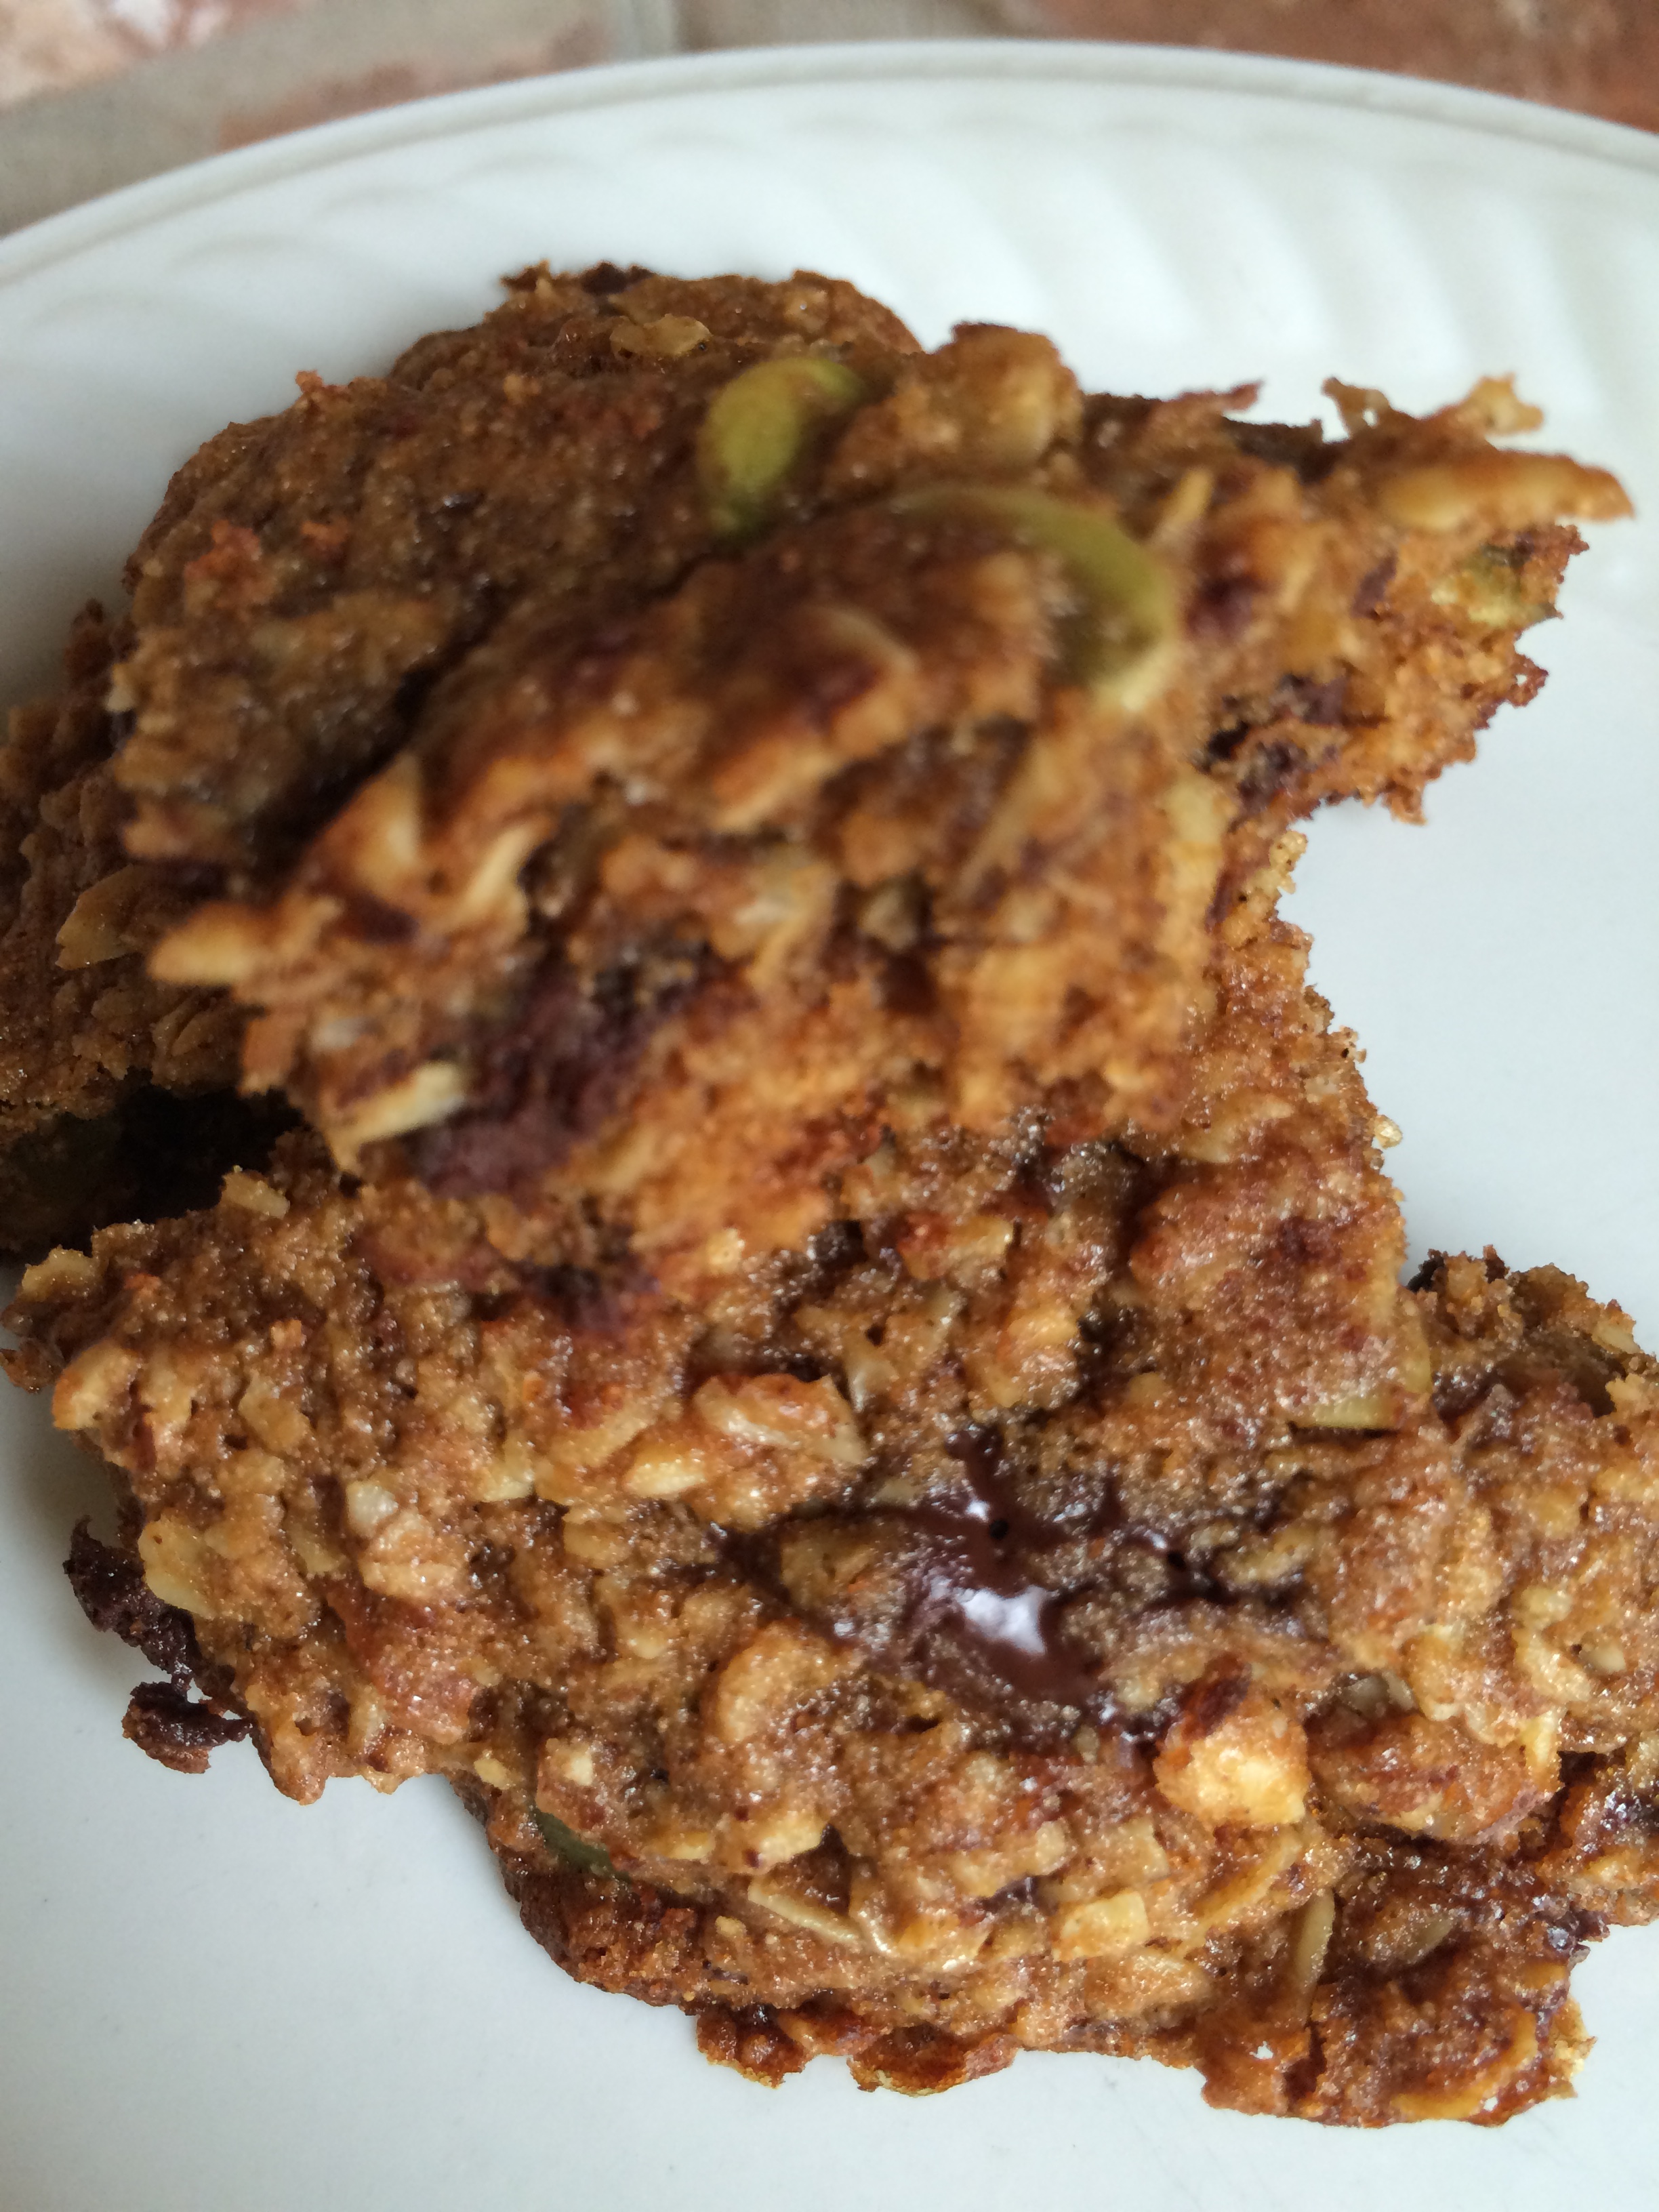
Oatmeal Cookies

image image image

Oatmeal Cookies

1 cup butter, softened

1 cup packed coconut palm brown sugar (tutorial here)

1/3 cup honey

2 eggs

1 teaspoon vanilla

1 1/2 cups flour (I used whole wheat in the second batch, and they were yummy)

1 teaspoon baking soda

1 teaspoon cinnamon

1/2 teaspoon salt

3 cups oatmeal

1 cup chocolate chips

Fall variation: 1/2 cup sliced almonds, 1/4 – 1/2 cup pepitas, 1 tsp. pumpkin spice (as well as cinnamon)

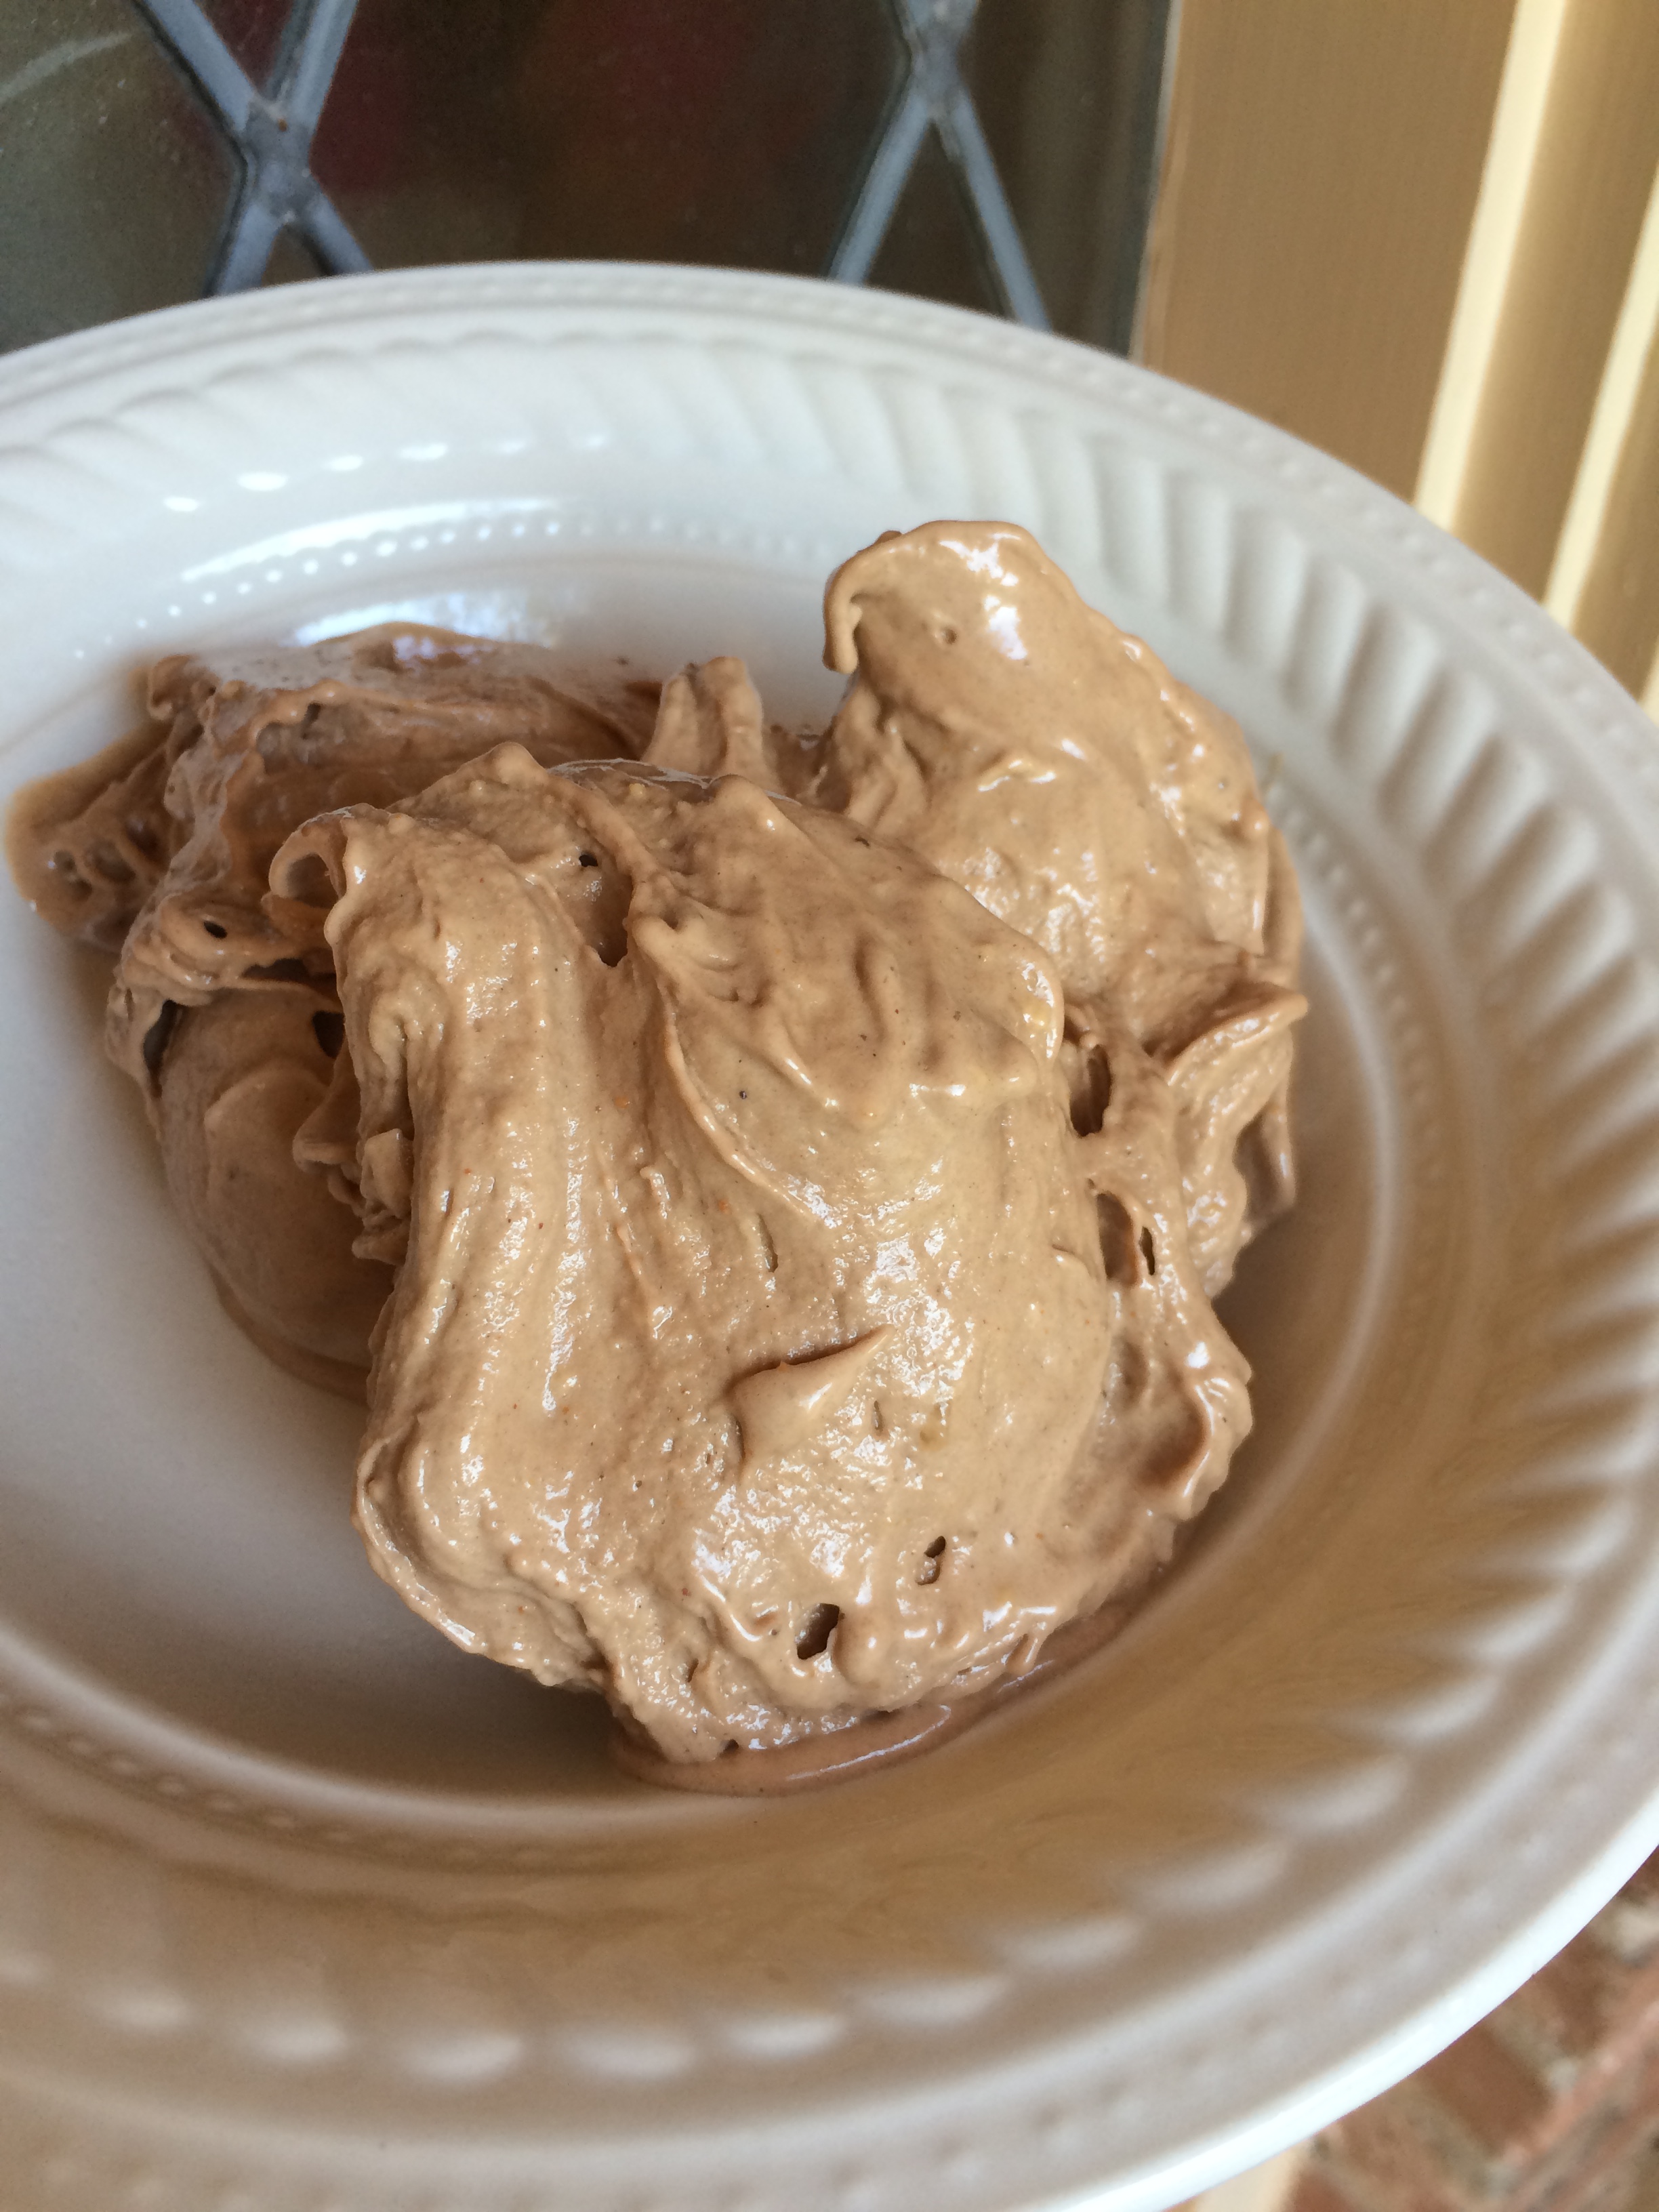
Heat oven to 350 degrees and grease cookie sheets. Beat together butter, brown sugar, and honey. You will want to mix this for 4-5 minutes so the brown sugar gets well incorporated. Add eggs and vanilla, mix well. Add flour, baking soda, cinnamon, and salt, mix well. Add oatmeal, chocolate chips, and fall add ins if desired, mix well. Drop rounded spoonfuls onto greased cookie sheets, and bake for 8-10 minutes. Remove to wire rack to cool. Enjoy!

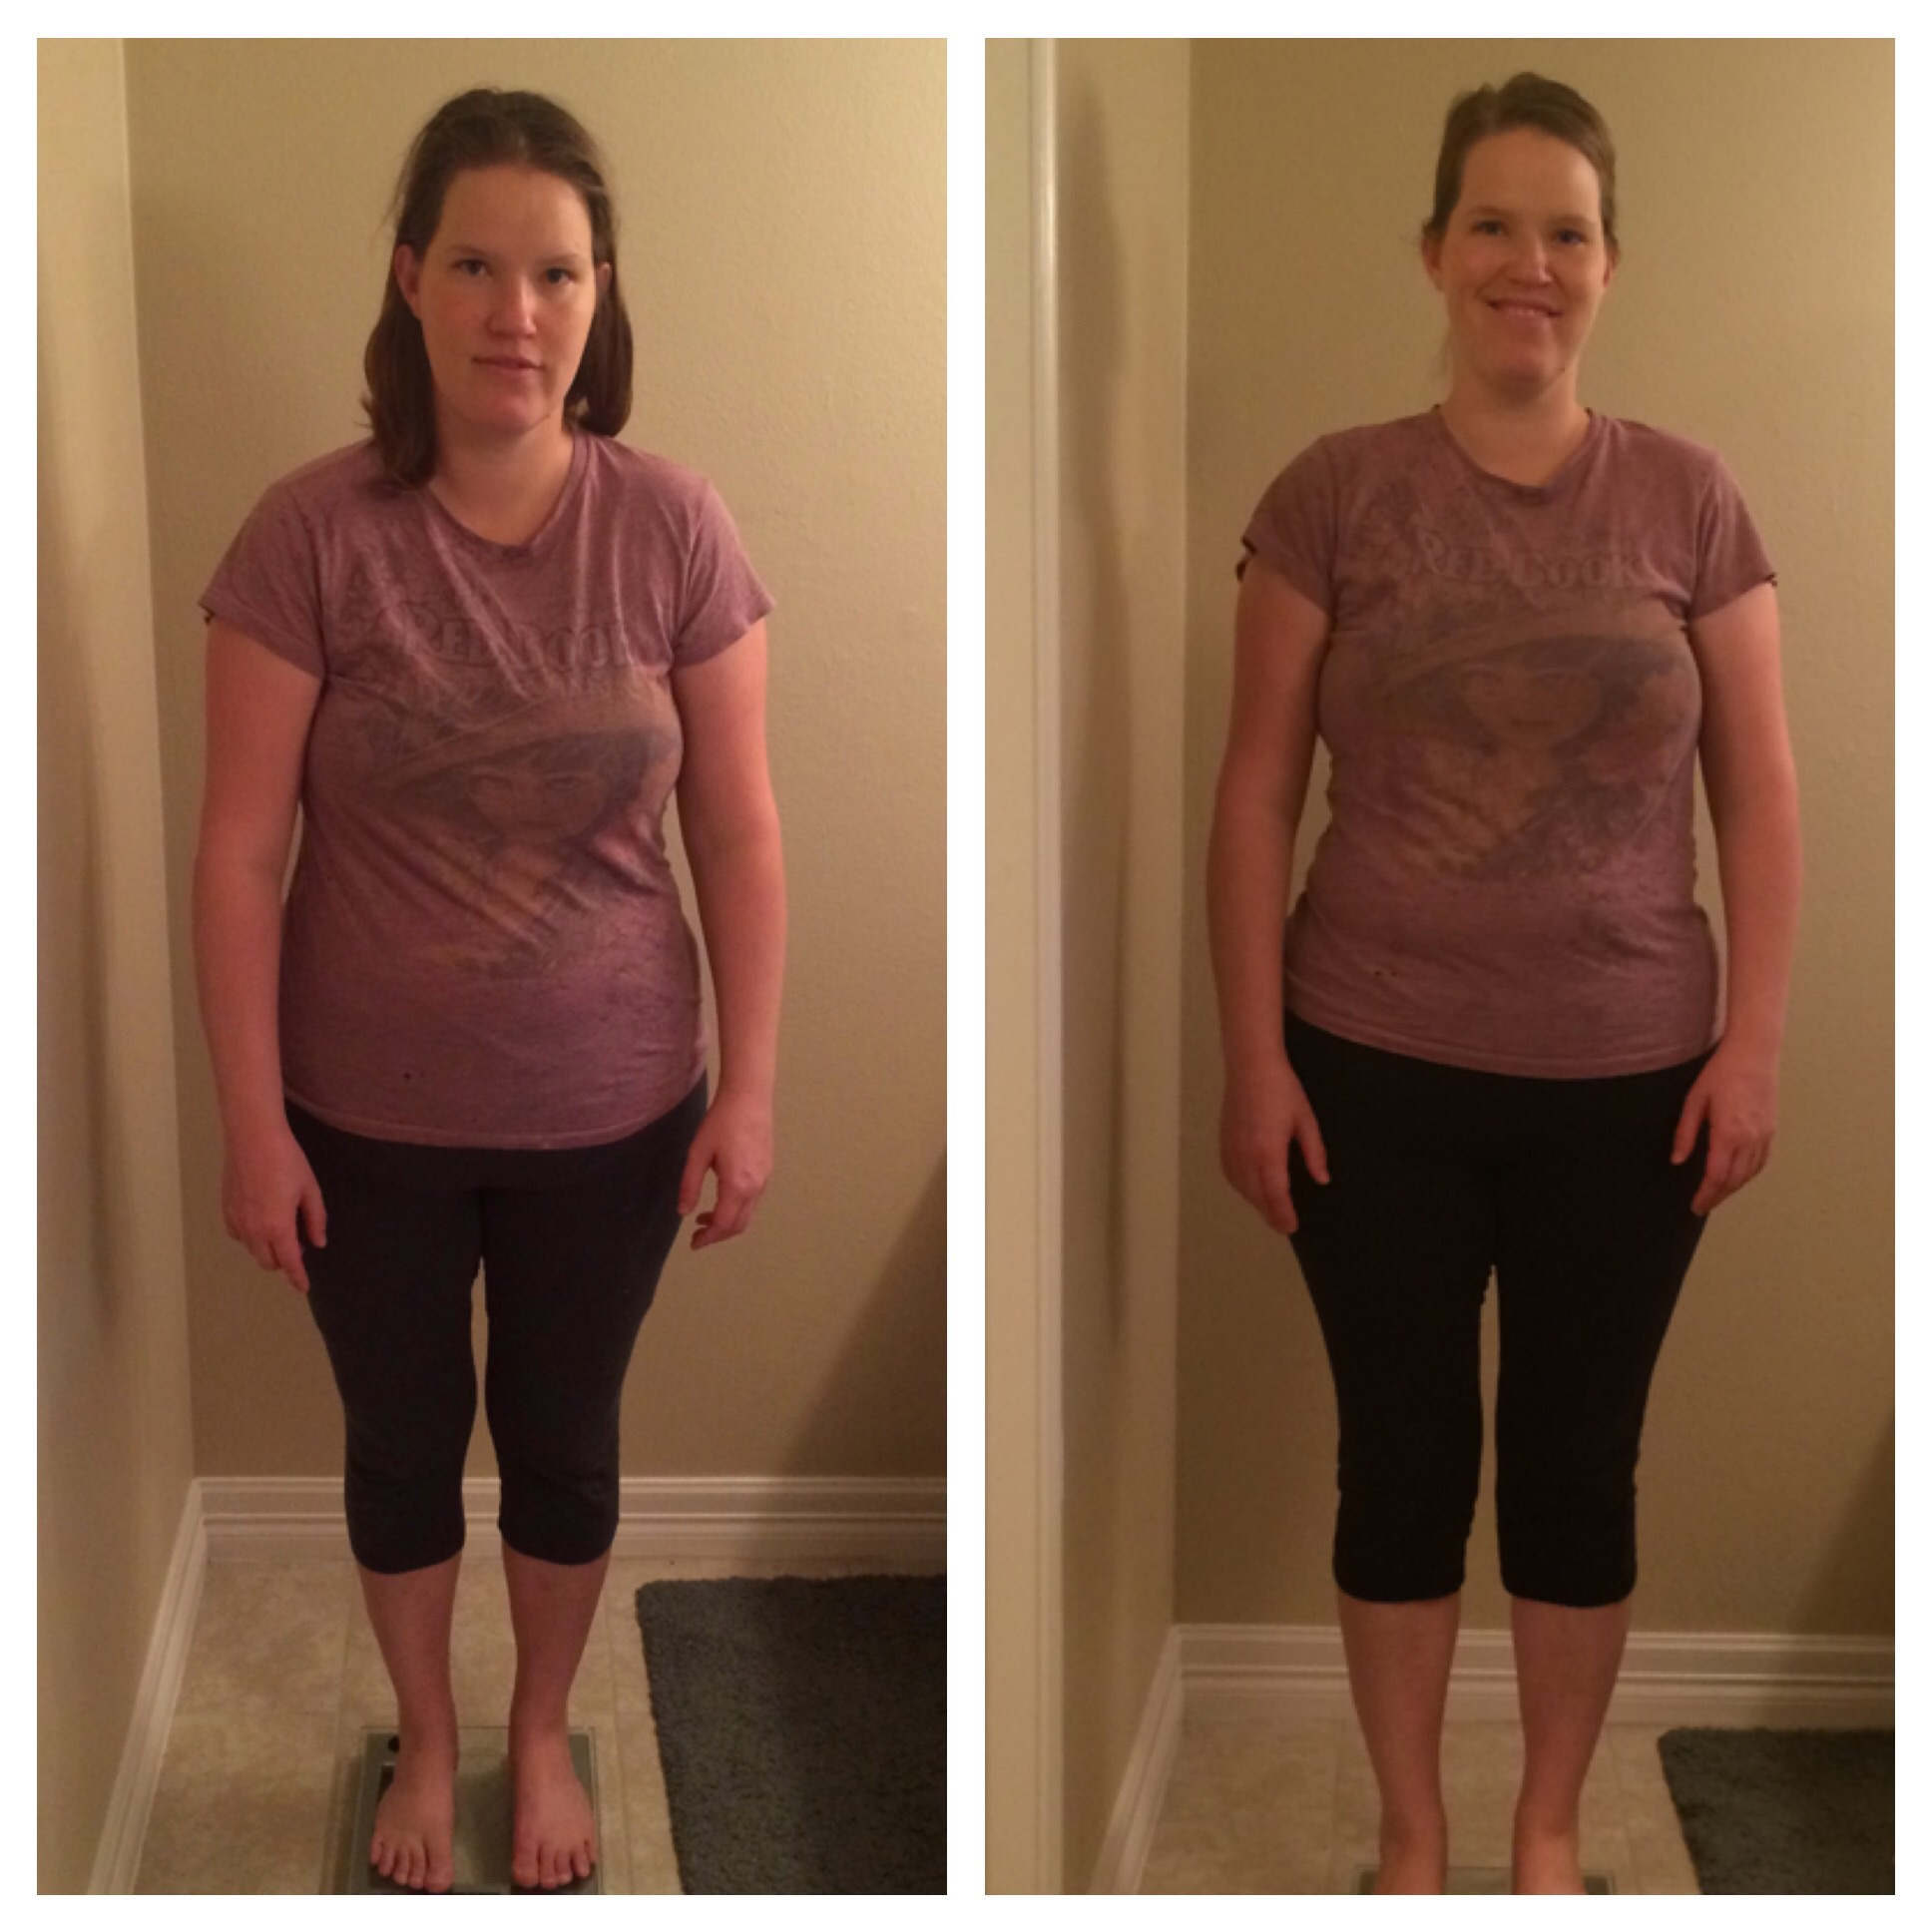
I was so excited to make and eat cookies after 2 months, and a little apprehensive. These did not disappoint. Also husband and kid approved, and they still eat sugar, so I feel safe recommending them wholeheartedly. I will still reserve them for occasional treats, and enjoy every bite.

Advertisement

Coconut Palm Brown Sugar

imageCoconut Palm Brown Sugar

3 cups coconut palm sugar

1/4 cup molasses

In the bowl of a mixer, or a large bowl, combine sugar and molasses. Mix at a medium speed for 2-4 minutes, until it is well blended. Store in an airtight container, and use 1:1 in recipes in place of brown sugar.

I wanted to make cookies, but I know how important brown sugar is for the chewy factor. I was thrilled to use this to make delicious oatmeal cookies. Try it out, and let me know what you think.

“Banana Ice Cream”

image image*If you don’t have a food processor you can use a blender and add milk to make a delicious shake. I freeze my bananas whole in gallon ziploc bags when they are very ripe, and then slice them when I use them. As a shake it is a delicious green smoothie, just add 2-3 large handfuls of spinach.

“Banana Ice Cream”

3 large bananas or 4 small bananas, frozen and sliced

1 tablespoon cocoa

1/2 scoop chocolate protein powder, optional  (I prefer it)

2-3 tablespoons peanut butter

*1/2 cup milk (only if you want to make a thick shake in a blender instead)

In a food processor with the metal blades, add the sliced bananas and run until it looks like sand. At that point add peanut butter, cocoa, and chocolate protein powder, continue to process for 3-4 minutes. It will look like it is not going to work, form a ball, and then form into delicious soft serve. I love to sprinkle it with cocoa nibs, nuts, or coconut.

For a shake add all ingredients to the blender jar, and blend until smooth and well combined. Enjoy!

This is my go to treat for nights when Todd is craving sweets, and I want to share with him. This recipe is husband and kid approved, they all gobble it up. It is so creamy and scrumptious.

Getting Personal

Today marks 2 months since I quit eating refined sugar, and I wanted to share some of the benefits I have experienced. I will start with the obvious changes, although they are definitely not the most profound, I have released 19 pounds since July 15th. I expected to see weight coming off, and it has happened more quickly than I anticipated. It has been a fantastic and motivating side effect. I was already exercising and eating well in the first picture, quitting sugar was the only big change in that regard.

imageThe picture on the left was taken August 1st and the right is today. Elijah took both of them in my fabulously lit bathroom.

The bigger physical benefits have been an increase in energy, better sleep, mental clarity, and I am slower to anger. I am far more thankful for these physical blessings, and they were more than I had hoped for. I also have felt increased peace and clarity in my spiritual life. I feel more inspired and joyful everyday. I am a better woman, mother, wife, and friend. The sacrifice pales in comparison to  the blessings and benefits I am receiving.

Go boldly forward, and do your hard thing. It’s worth it.

Spaghetti Sauce

imageimageSpaghetti Sauce

* This is a recipe I got from my mom, and it’s my favorite. I quadrupled it, and froze the extra in quart size bags with the amounts and date. And the easiest way to get the tomato paste out is to use the can opener to open both ends, remove the metal disc from one side, flip it over and push the other end all the way through the can and dispose of that end.

2 tablespoons olive oil

4 garlic cloves, minced or 3/4 teaspoon garlic powder

1 cup diced onion (medium onion)

1 tablespoon Italian seasoning (or 1 teaspoon basil, 1 teaspoon oregano, and 1 teaspoon marjoram)

1 15 oz. can tomato sauce

1 6 oz. can tomato paste

1 15 oz can diced tomatoes (or 2 cups coarsely chopped fresh tomatoes)

1 teaspoon salt

1/2 teaspoon black pepper

1-2 teaspoons honey (to taste)

Heat olive oil in a large saucepan over medium high heat, add the onions and saute until translucent (5-6 minutes), add the garlic and saute until fragrant (30 seconds). Add the Italian seasoning/s,tomato sauce, tomatoes, and tomato paste, stir to combine. Add the salt, pepper, and 1 teaspoon of honey, taste and adjust as needed. Bring to a simmer, and then turn to low, cover and simmer for 1-2 hours stirring occasionally. Makes 4 cups, and freezes beautifully.

I love having easy foods ready to go in the freezer so I always make a huge batch and freeze some of it. It makes easy and delicious dinners.

Coconut Butter Stuffed Dates

image

imageCoconut Butter Stuffed Dates

2 cups unsweetened coconut or 1 cup coconut butter (like Nutiva coconut manna)

24 medjool dates, cut open and pitted

To make your own coconut butter at home pour the 2 cups of coconut into your blender jar, or food processor, and blend for 3-8 minutes until it is a thick liquid. (It will take longer in a food processor.) While that is being made slice your dates and remove pits, then spoon in coconut butter and place in fridge to set up for 10 minutes. I keep them in the fridge for up to 2 weeks. The coconut butter will solidify in the fridge, I love them cold, if you prefer let them sit for 10 minutes at room temp before eating. Leftover coconut butter can be saved and used later, for at least 6 weeks.

I LOVE these. They are rich and decadent, and I feel fantastic after eating them. I love not getting the gut bomb feeling after a delicious treat. I figure that is feedback that something is so right.

Honey Pear Muffins

image image*I used Bartlett pears, but I believe you could use any  variety. I love to use my cookie scoop to load up my muffin tins. I fill it 2/3 for mini muffins, and two full scoops for big muffins. I am the only one in my family who likes nuts in muffins, so I put 3 in between the 2 scoops of batter. Makes 24 big muffins, or 12 big and 24 mini muffins.

Honey Pear Muffins

4-5 pears, peeled, cored and grated (need 2 cups grated pear)

2/3 cup honey (you could use 3/4 cup if you want them sweeter)

3 eggs, lightly beaten

1 teaspoon vanilla

3/4 cup melted butter, or oil

2 1/2 cups flour (I used 1 1/2 whole wheat and 1 white)

1 teaspoon baking soda

1/4 teaspoon baking powder

1 teaspoon salt

2 teaspoons cinnamon

1 cup walnuts or pecans (optional)

2 tablespoons coconut sugar

Preheat your oven to 350 degrees, and grease your muffin tins. In a small bowl combine flour, baking soda, baking powder, salt, and cinnamon, stir with a fork to combine, and set aside. Peel and core pears, then grate them, need 2 cups total. In a large bowl combine butter or oil, grated pear, eggs, honey, and vanilla, stir until well mixed. Add flour mixture and gently stir until flour disappears. Gently fold in nuts. Portion into your muffin tins, and if desired sprinkle tops with coconut sugar. Bake for 14-18 minutes for regular muffins, and 10-13 minutes for mini muffins. Remove from oven, and transfer to cooling rack. Enjoy!

This was a delicious Friday morning treat, and my kids loved them. It has been really fun to get baking with natural sweeteners, and I am excited to keep trying new recipes.

*I originally tried this recipe from smittenkitchen.com. I modified it to use honey, whole wheat flour, and adjusted some seasonings.

Green Lemonade

image*I made this in a high powered blender, if you want to use a regular blender juice the lemon and proceed as usual. You may want to blend a couple ingredients and then add the rest. This is not a sweet smoothie, adding a second apple at first is a good idea.

Green Lemonade

1 lemon, peeled

1 apple, quartered and cored

1/4 inch ginger root, peeled

1/2 cucumber, sliced

1/2 avocado

4 brussel sprouts or 1/2 zucchini, sliced (optional)

1 cup water

1 cup ice

2 large handfuls of spinach

Optional additions: vanilla protein powder, chia seeds, hemp seeds, or flax seeds, lemon and ginger essential oils, and stevia.

Put ice, water, lemon, apple, ginger, cucumber, avocado, brussel sprouts, and spinach in blender, and blend until well mixed. I love to add protein powder, seeds, and lemon and ginger oils for the nutritional benefits, and it helps me feel full until lunch. Add 4-8 drops of liquid stevia to increase sweetness if desired, or you can use a second apple.

It took a little time for me to enjoy this smoothie, now I crave it almost everyday. I have been amazed by how much my palate, and tastes have changed in the last two months. The natural sweetness in food has become more pronounced, and I feel satiated faster. It has made eating for nourishment, as well as enjoyment, satisfying.