Pumpkin Cashew Butter

 image

Cashew Pumpkin Butter

1 cup cashew butter

3/4 cup pumpkin puree

2-3 tablespoons pure maple syrup

1/2 teaspoon cinnamon or 2 drops cassia essential oil

1/4 teaspoon clove or 1 drop clove essential oil

1/4 teaspoon ginger or 1 drop ginger essential oil

1/4 teaspoon nutmeg

Add all ingredients to a large blender jar, or food processor, and mix until well combined. Store in an airtight container in the fridge. Stays good for 4 weeks.

We have been eating this on apple slices, and it would be fantastic on graham crackers. It really stole the show as a filling for crepes, with some maple syrup sweetened whipping cream, for birthday breakfast. So, so delicious.

Advertisement

Chocolate cupcakes

imageimage

*The blender was the very start of this experiment, and I was a little apprehensive. They baked up beautifully and were delicious.

Chocolate carrot cupcakes

1/2 cup coconut oil

1 cup applesauce

1 1/2 cup coconut palm sugar (or sucanat)

3 eggs

1 1/4 cup steamed carrots

1 teaspoon vanilla

1/3 cup cocoa

2 cups whole wheat flour (white wheat, finely ground)

1 teaspoon baking powder

1 teaspoon baking soda

1/2 teaspoon salt

Preheat oven to 350 degrees, and grease 9X13 pan or line muffin tins (I would spray the liners).  In a blender jar puree the carrots. Add the applesauce, coconut sugar, coconut oil, vanilla, and eggs, blend until combined. Add cocoa, flour, baking powder, baking soda, and salt and blend until combined. Pour into 9X13 pan, or portion into muffin tins and bake. The 9X13 will bake for 30 minutes or until done, test with a toothpick. Cupcakes will cook for 14-18 minutes, check them after 14 minutes and adjusting cooking time as needed. Makes 24 cupcakes.

My kids were begging for cupcakes two weeks ago to celebrate Ariel’s (a Little Mermaid doll they have) birthday. I knew that with two October birthdays coming up that I wanted to be able to celebrate and enjoy cake with my birthday loves. Ariel’s “birthday party” was the perfect, low stress event to test out this cake recipe. To my surprise my entire family really liked these cupcakes, and I thought they were fantastic. Veggies, whole grains, and less sugar is something to celebrate! Definitely an special occasion treat, and one I will savor.

*This recipe was heavily altered from greensmoothiegirl’s beet cake.

Veggie Lasagna

image

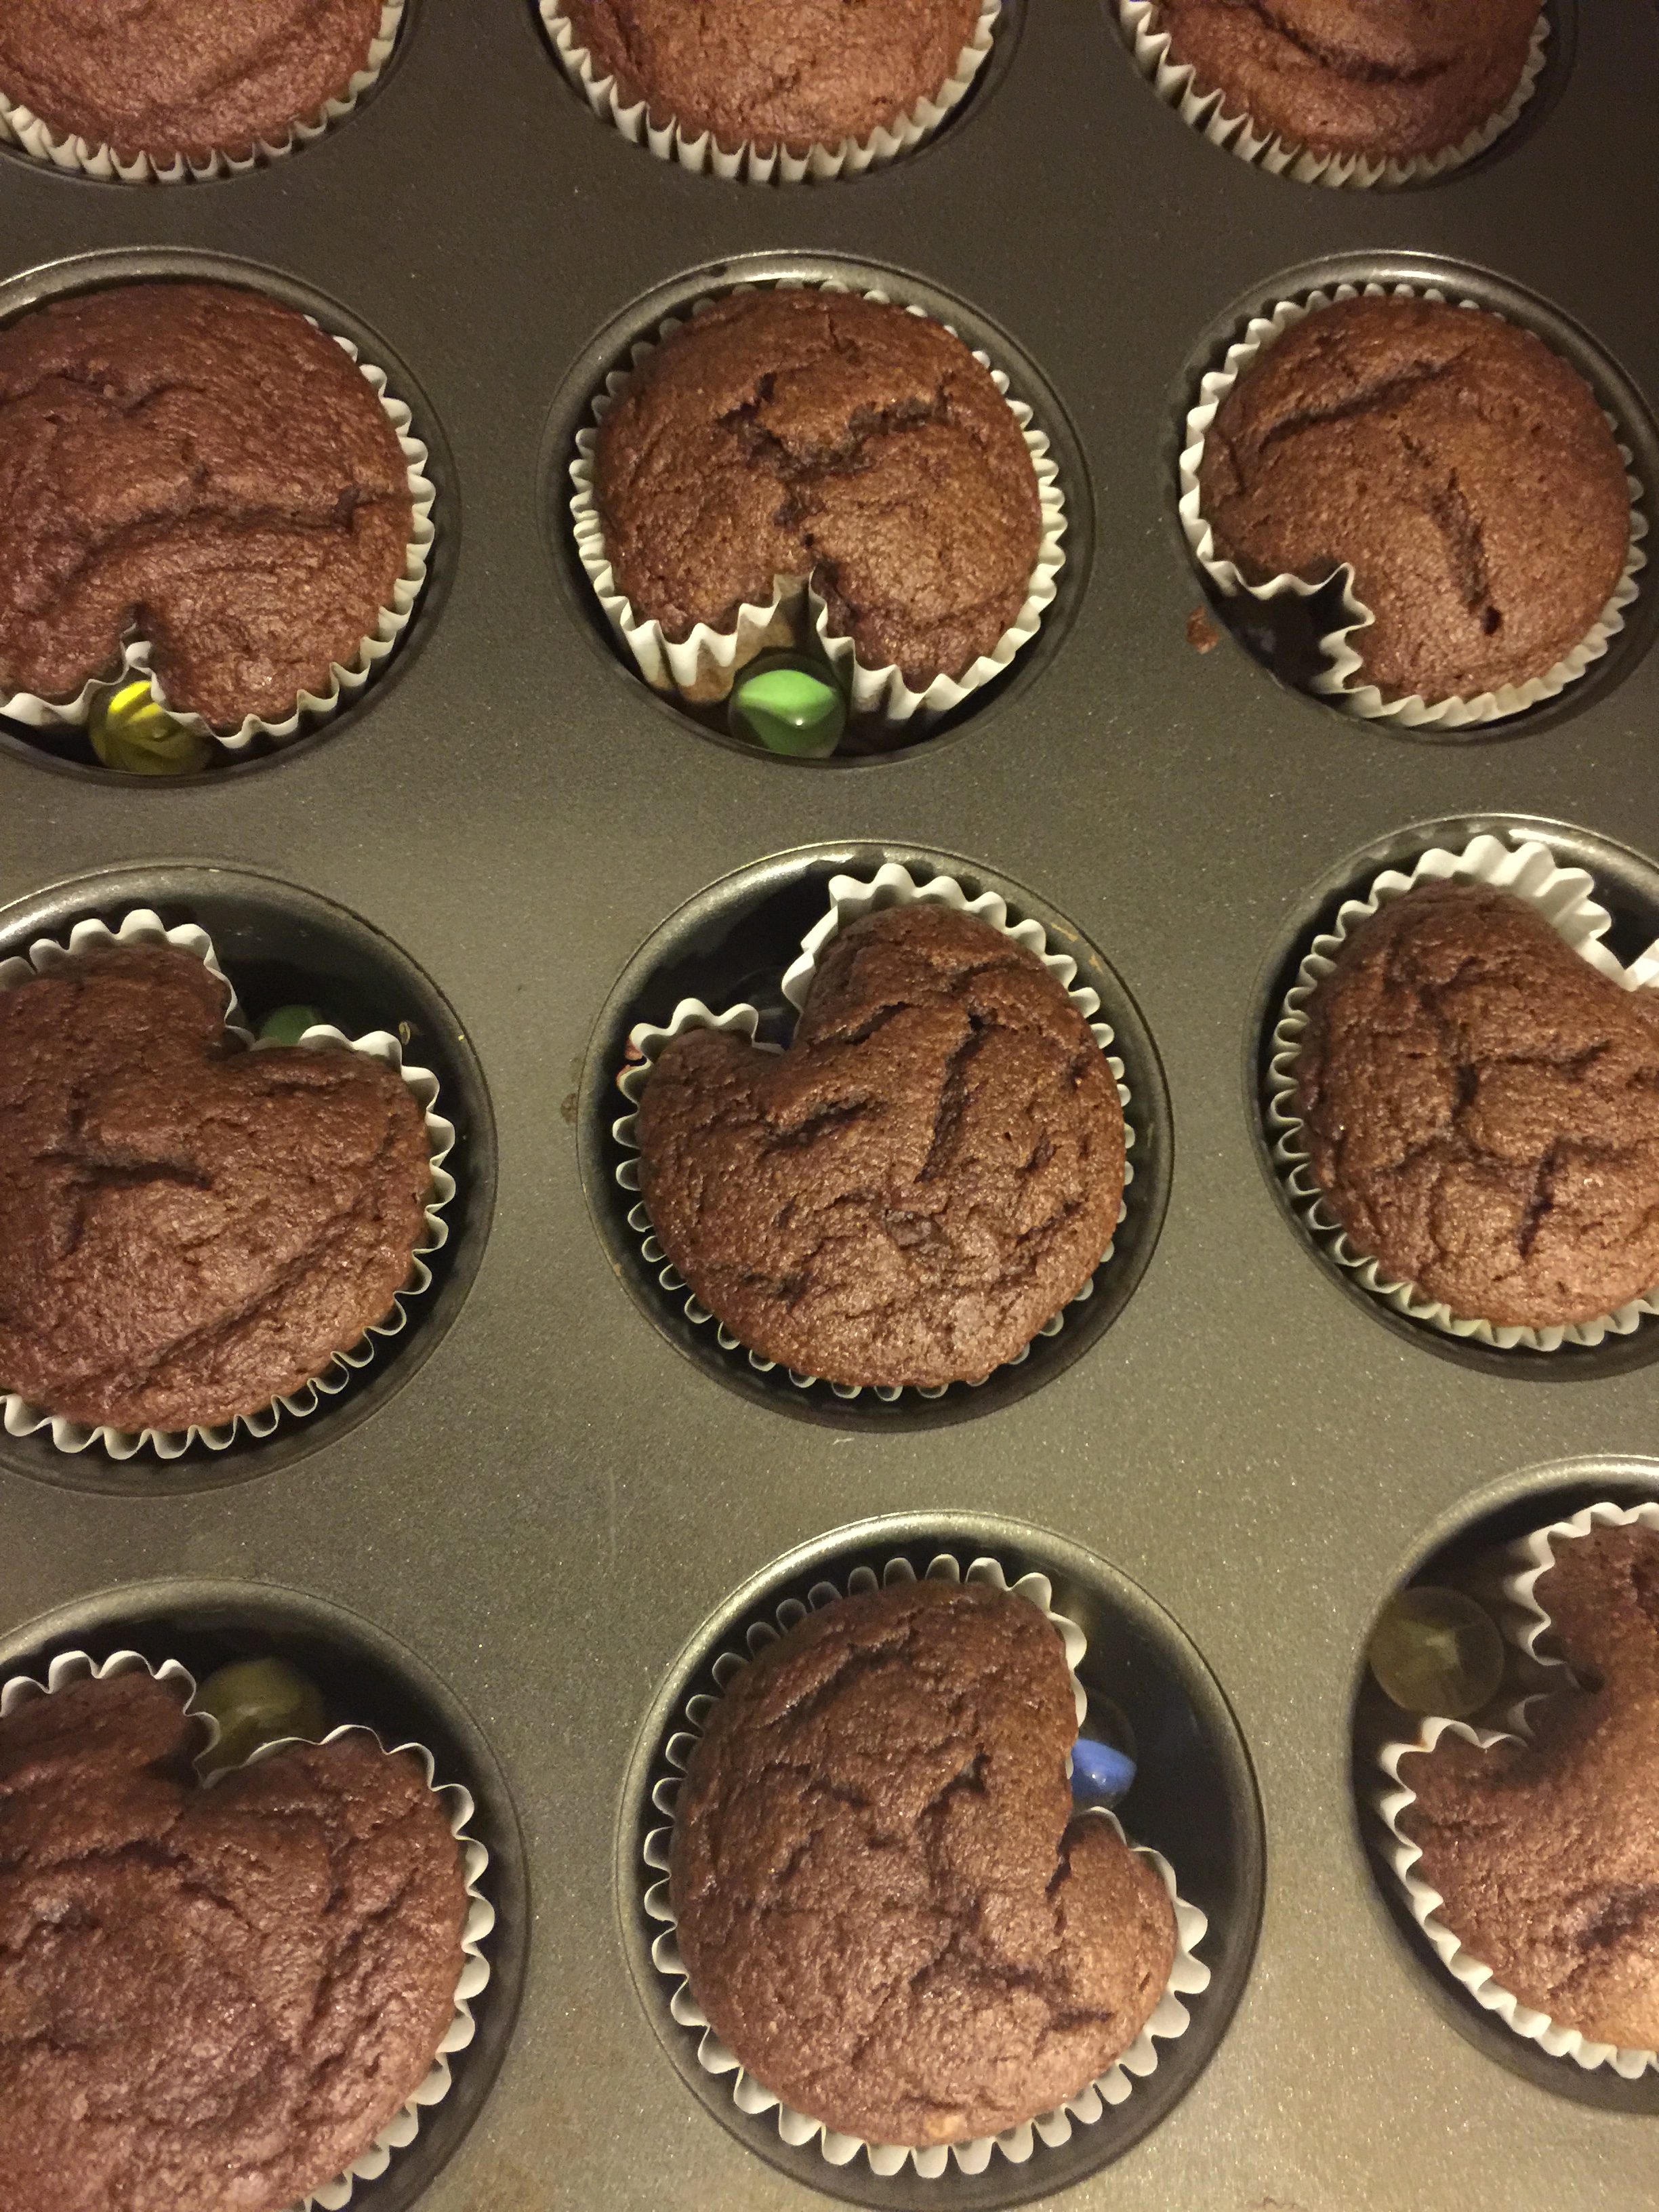
*You can easily switch out the sauteed vegetables for ground beef or Italian sausage, then just add it to your marinara for easy layering. Once assembled, before baking, you can freeze this lasagna. It takes an extra 30-40 minutes to bake from frozen.

Veggie Lasagna

12 no boil lasagna noodles (Barilla brand are my favorite)

3 1/2 cups marinara sauce (I used this recipe)

1 1/2 cups mozzarella cheese, shredded

1 cup parmesan cheese, shredded

Sauteed Veggies

1 tablespoon olive oil

8 ounces mushrooms, sliced

2-3 zucchini, quartered and sliced (depending on size, 3 if they are medium)

1 1/2 teaspoon italian seasoning

salt and pepper to taste

White Sauce

4 tablespoons butter

1/4 cup flour

3 cups milk

1/2 teaspoon salt

1/2 teaspoon pepper

Lightly grease a 9×13 inch baking pan and preheat oven to 350 degrees.

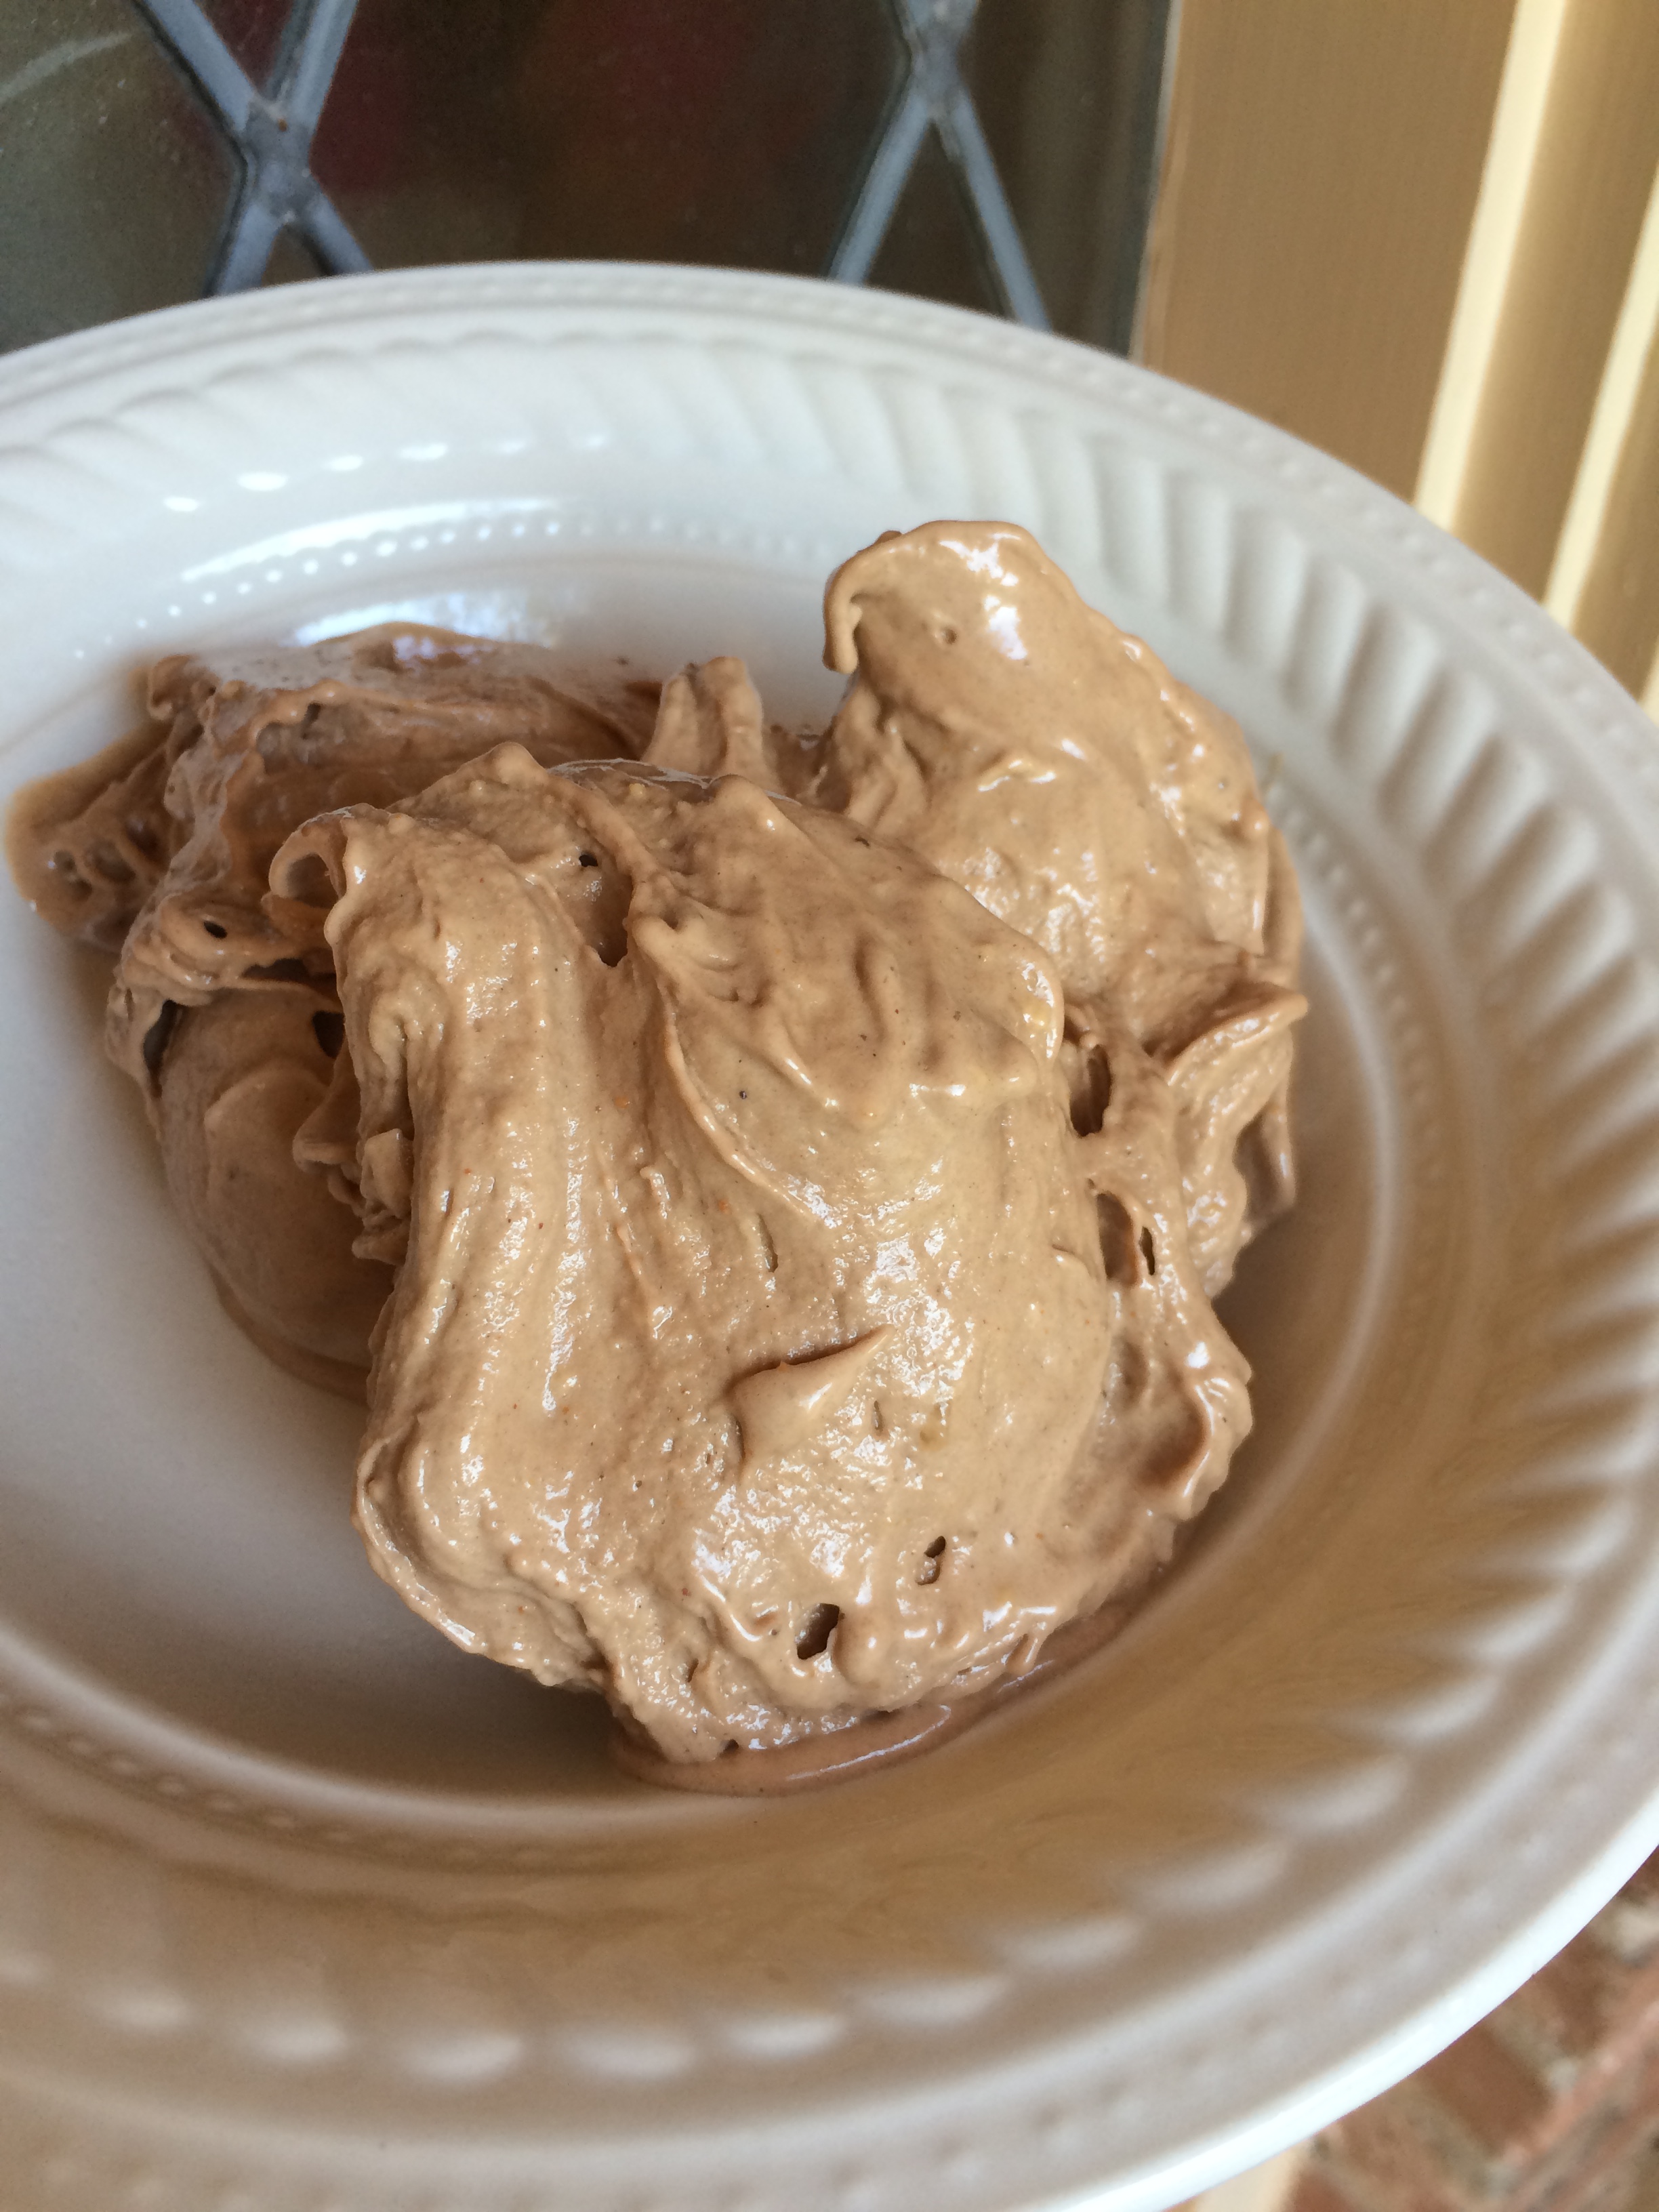
White sauce – In a medium saucepan over medium heat melt the 4 tablespoons of butter, then add 1/4 cup flour and stir to thoroughly combine, Then slowly whisk in the milk stirring constantly. Add the salt and pepper and stir occasionally to be sure it isn’t scalding on the bottom, while it comes to a simmer and thickens quite a bit, about 5-7 minutes. Take off the heat, and set aside for now.

Sautéed veggies – In a large skillet, over medium-high heat, add the tablespoon of olive oil and allow it to heat up for a minute. Then add the mushrooms, zucchini, italian seasoning, and salt and pepper. Saute for 5-7 minutes until softened, take off heat and set aside.

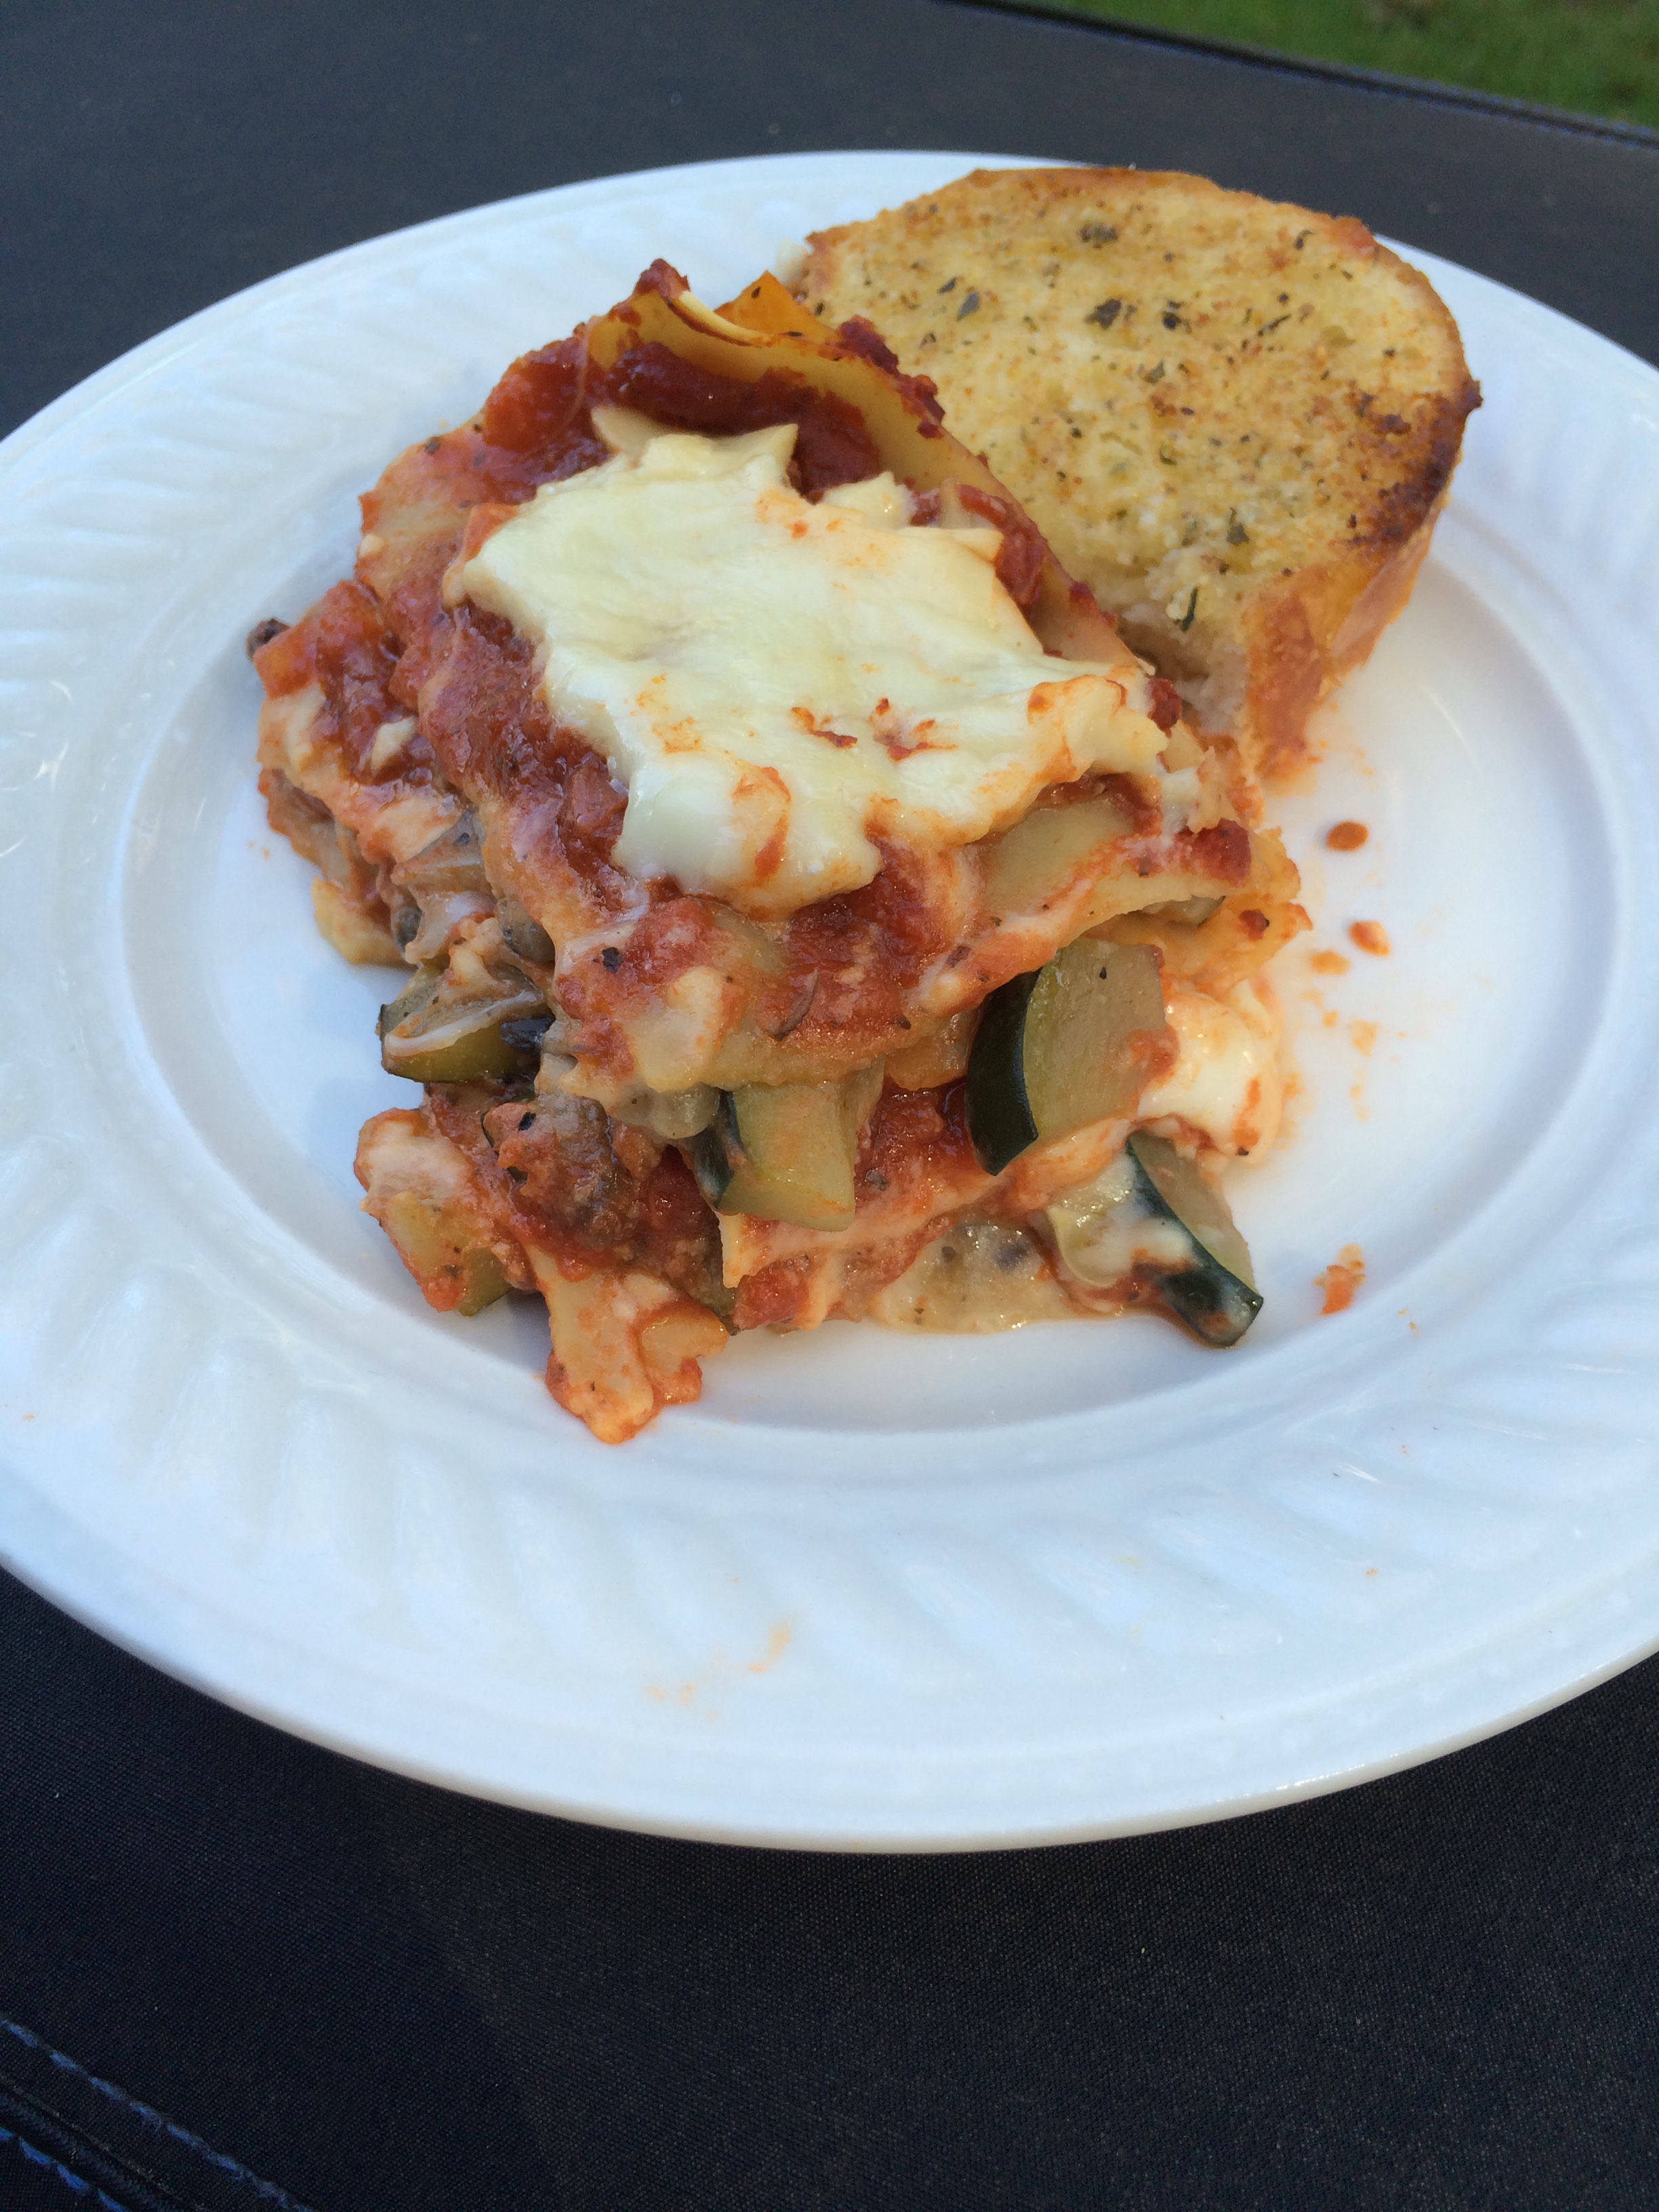
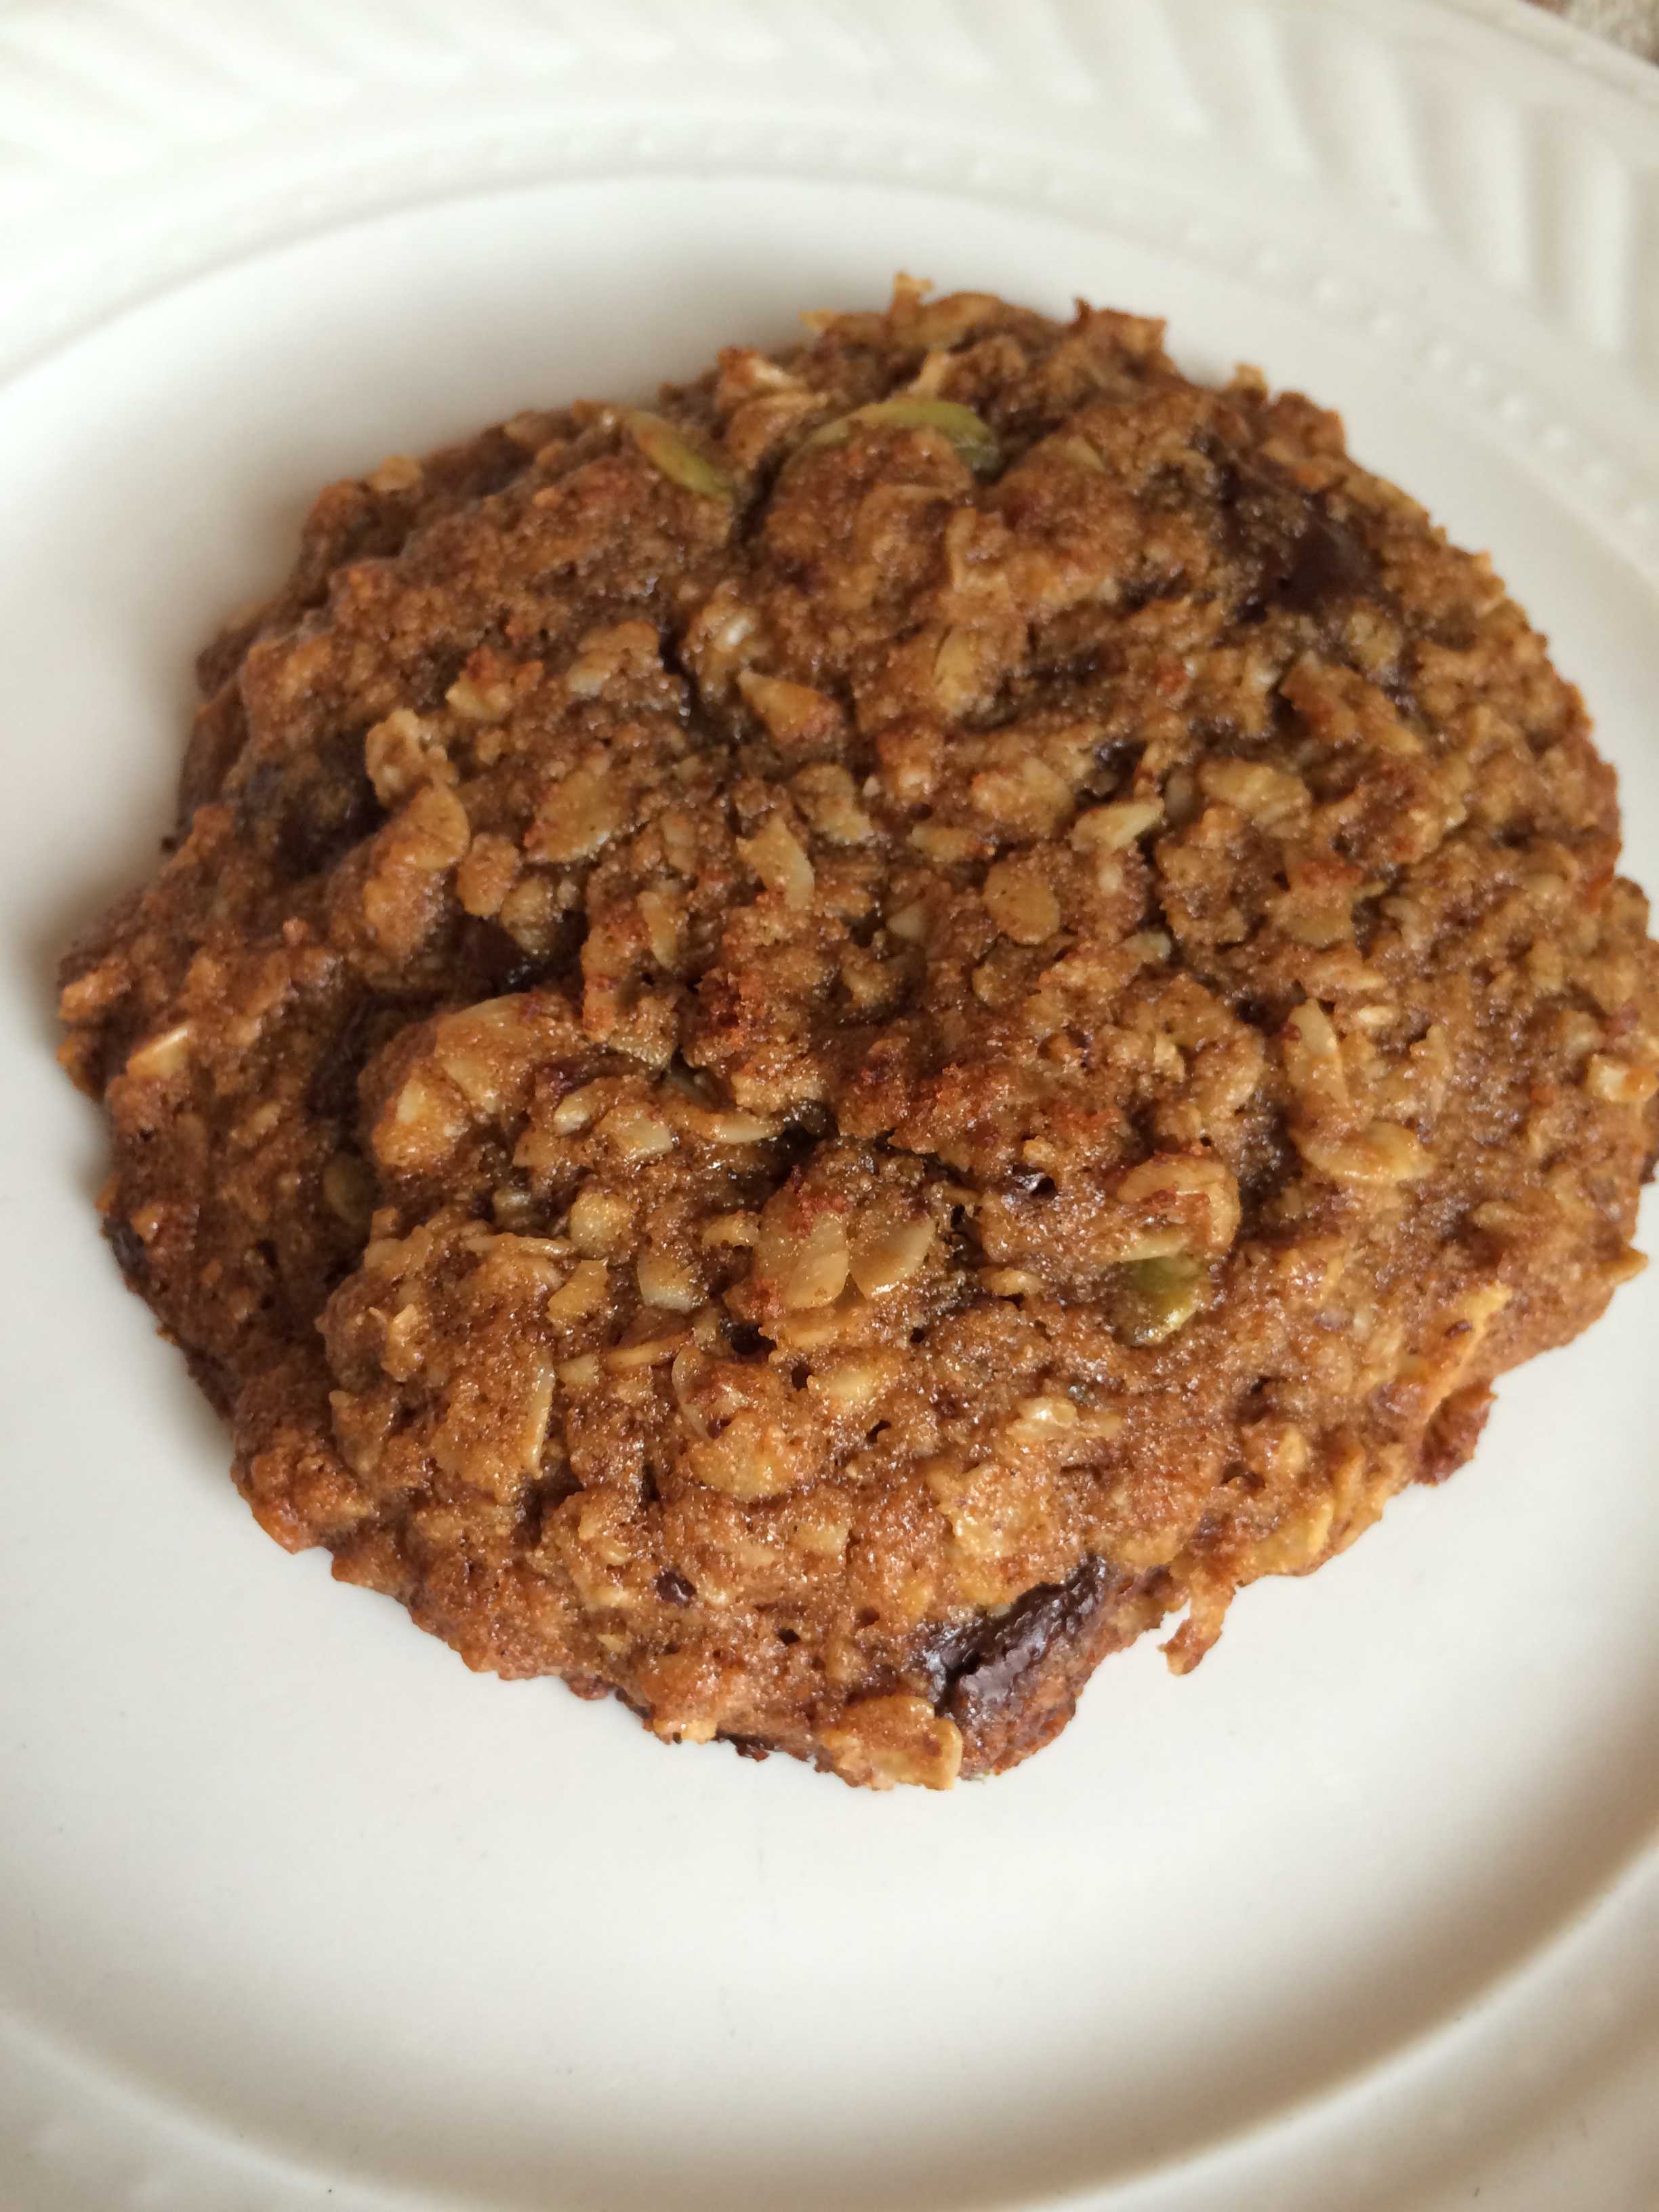
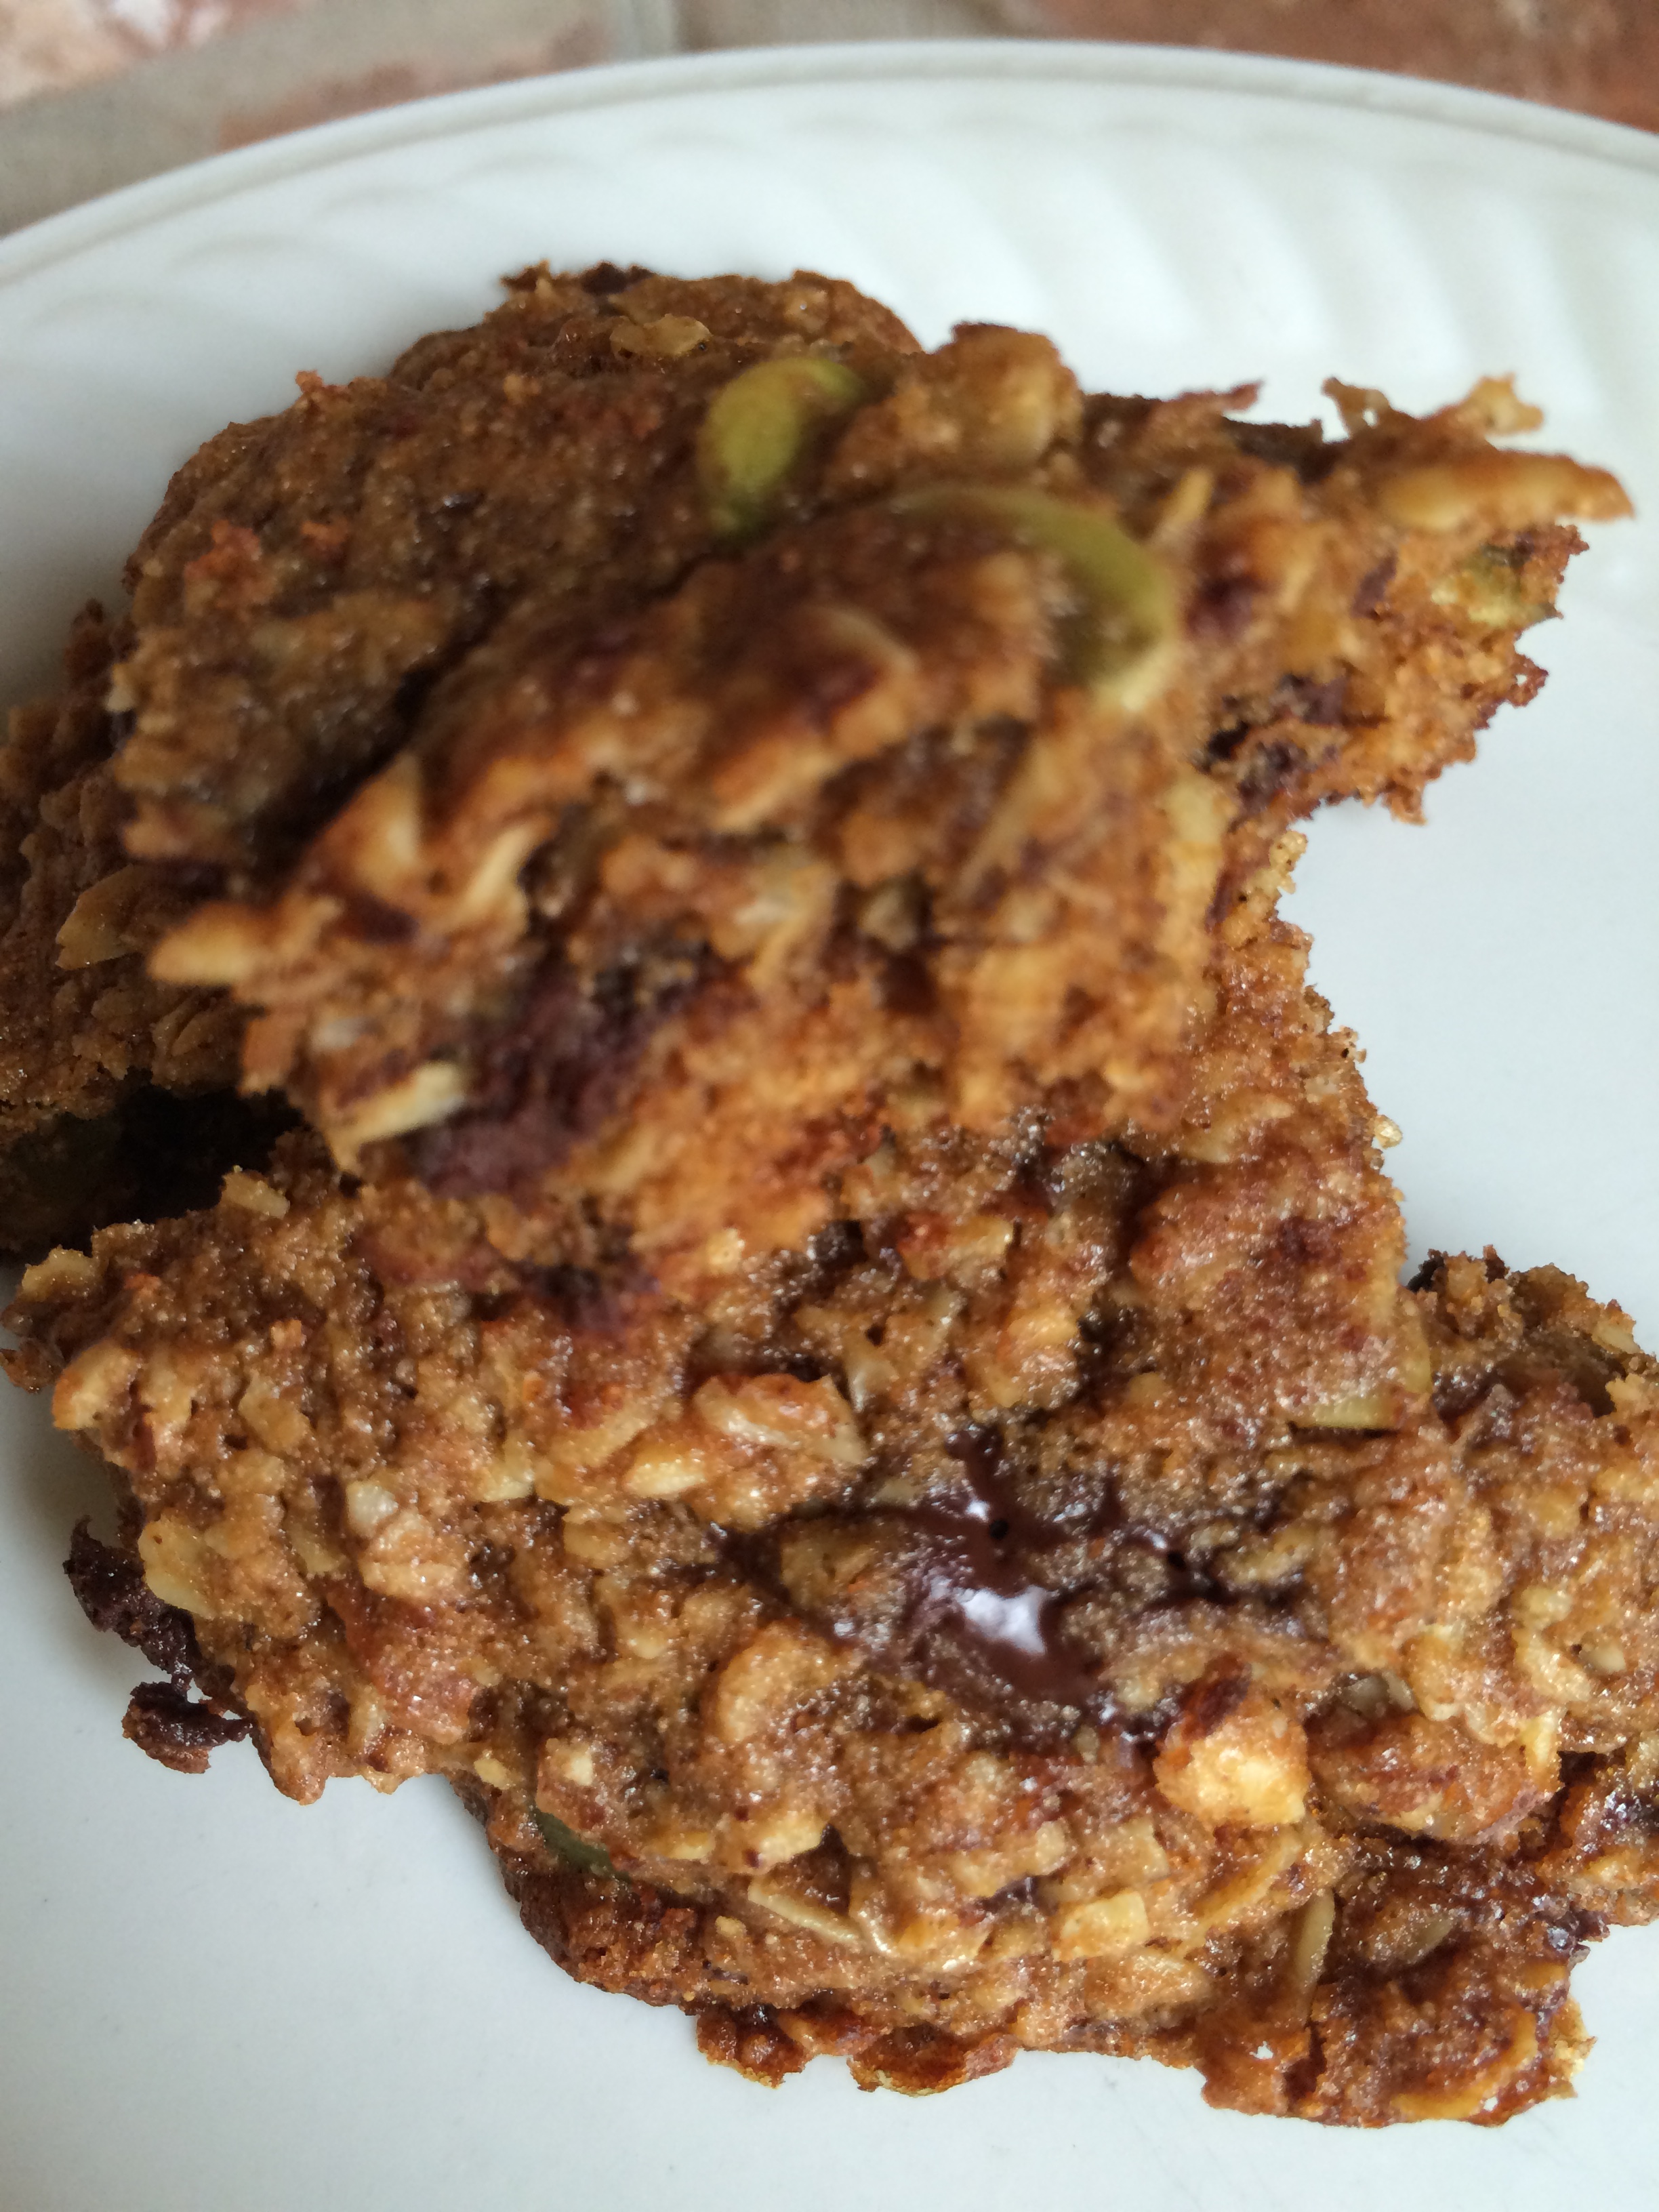
Assembling lasagna – Line up all the ingredients next to your 9×13 inch pan. Lay 4 noodles on the bottom, pour in 1 cup marinara sauce and spread it over noodles, followed by 1 cup white sauce and spread it over noodles, spread 1/2 of the veggies over it, and sprinkle 1/2 cup mozzarella and 1/3 cup parmesan over it evenly. Repeat for the second layer. The top layer is the last of the sauces and cheeses in the same order. Then bake for 30-40 minutes, until it is bubbling around the edges, and golden on top.

Let it rest for 10 minutes, and then serve and enjoy!

I love Italian food, and Todd has this sincere dislike of overly cheesy food. (I know, crazy!) So when I discover the concept of using a white sauce in place of ricotta or cottage cheese, I was so excited, and Todd loved it! It made me happy to make lasagna I knew we would both enjoy. We do eat meat, but I try to make half or more of our meals meatless to up our veggie intake.

*I originally found this recipe on melskitchencafe.com, one of my favorite food blogs, I modified by using my sauce, and using veggies instead of meat.

Pumpkin Muffins

image image

Pumpkin Muffins

1 3/4 cups flour (I used all purpose today, I will try whole wheat soon)

1 teaspoon baking soda

1/2 teaspoon salt

2 teaspoons cinnamon

1/2 teaspoon ground cloves

1/2 teaspoon nutmeg

1/2 cup coconut oil (or oil of choice)

1 15 ounce can pumpkin puree

2 eggs

1/2 cup applesauce

1/2 cup honey (or agave)

1/2 cup coconut palm brown sugar (recipe here)

1 teaspoon vanilla

Chocolate chips (optional)

Preheat oven to 375 degrees and spray muffin tins, or use liners. It makes 36 mini muffins or 18 regular sized muffins.

In a large bowl combine flour, baking soda, salt, cinnamon, ground cloves, and nutmeg. Whisk to mix well, set aside.

In a medium bowl add can of pumpkin and coconut oil and mix until well combined. Then add eggs, applesauce, honey, brown sugar, and vanilla, and mix well. Pour wet ingredients into dry ingredients and mix until just combined, some streaks of flour will remain, that is ok.

Portion into muffin tins, bake mini muffins for 10 minutes and regular muffins for 14 minutes at 375. Gobble them up!

My only complaint about pumpkin baked goods is that sometimes the pumpkin isn’t the main event, that is not the case with these muffins. Todd, my kids, and my parents RAVED about these this morning. They were so delicious, and tender, and so pumpkin-y. Todd told me how fantastic they were at least 3 times, and ate 5 or 6. Try them and let me know what you think! They will be on heavy rotation around here this fall/winter.

*I found the original recipe on lovelylittlekitchen.com, and I adjusted the sweeteners and seasonings.

Oatmeal Cookies

image image image

Oatmeal Cookies

1 cup butter, softened

1 cup packed coconut palm brown sugar (tutorial here)

1/3 cup honey

2 eggs

1 teaspoon vanilla

1 1/2 cups flour (I used whole wheat in the second batch, and they were yummy)

1 teaspoon baking soda

1 teaspoon cinnamon

1/2 teaspoon salt

3 cups oatmeal

1 cup chocolate chips

Fall variation: 1/2 cup sliced almonds, 1/4 – 1/2 cup pepitas, 1 tsp. pumpkin spice (as well as cinnamon)

Heat oven to 350 degrees and grease cookie sheets. Beat together butter, brown sugar, and honey. You will want to mix this for 4-5 minutes so the brown sugar gets well incorporated. Add eggs and vanilla, mix well. Add flour, baking soda, cinnamon, and salt, mix well. Add oatmeal, chocolate chips, and fall add ins if desired, mix well. Drop rounded spoonfuls onto greased cookie sheets, and bake for 8-10 minutes. Remove to wire rack to cool. Enjoy!

I was so excited to make and eat cookies after 2 months, and a little apprehensive. These did not disappoint. Also husband and kid approved, and they still eat sugar, so I feel safe recommending them wholeheartedly. I will still reserve them for occasional treats, and enjoy every bite.

Coconut Palm Brown Sugar

imageCoconut Palm Brown Sugar

3 cups coconut palm sugar

1/4 cup molasses

In the bowl of a mixer, or a large bowl, combine sugar and molasses. Mix at a medium speed for 2-4 minutes, until it is well blended. Store in an airtight container, and use 1:1 in recipes in place of brown sugar.

I wanted to make cookies, but I know how important brown sugar is for the chewy factor. I was thrilled to use this to make delicious oatmeal cookies. Try it out, and let me know what you think.

“Banana Ice Cream”

image image*If you don’t have a food processor you can use a blender and add milk to make a delicious shake. I freeze my bananas whole in gallon ziploc bags when they are very ripe, and then slice them when I use them. As a shake it is a delicious green smoothie, just add 2-3 large handfuls of spinach.

“Banana Ice Cream”

3 large bananas or 4 small bananas, frozen and sliced

1 tablespoon cocoa

1/2 scoop chocolate protein powder, optional  (I prefer it)

2-3 tablespoons peanut butter

*1/2 cup milk (only if you want to make a thick shake in a blender instead)

In a food processor with the metal blades, add the sliced bananas and run until it looks like sand. At that point add peanut butter, cocoa, and chocolate protein powder, continue to process for 3-4 minutes. It will look like it is not going to work, form a ball, and then form into delicious soft serve. I love to sprinkle it with cocoa nibs, nuts, or coconut.

For a shake add all ingredients to the blender jar, and blend until smooth and well combined. Enjoy!

This is my go to treat for nights when Todd is craving sweets, and I want to share with him. This recipe is husband and kid approved, they all gobble it up. It is so creamy and scrumptious.

Getting Personal

Today marks 2 months since I quit eating refined sugar, and I wanted to share some of the benefits I have experienced. I will start with the obvious changes, although they are definitely not the most profound, I have released 19 pounds since July 15th. I expected to see weight coming off, and it has happened more quickly than I anticipated. It has been a fantastic and motivating side effect. I was already exercising and eating well in the first picture, quitting sugar was the only big change in that regard.

imageThe picture on the left was taken August 1st and the right is today. Elijah took both of them in my fabulously lit bathroom.

The bigger physical benefits have been an increase in energy, better sleep, mental clarity, and I am slower to anger. I am far more thankful for these physical blessings, and they were more than I had hoped for. I also have felt increased peace and clarity in my spiritual life. I feel more inspired and joyful everyday. I am a better woman, mother, wife, and friend. The sacrifice pales in comparison to  the blessings and benefits I am receiving.

Go boldly forward, and do your hard thing. It’s worth it.

Spaghetti Sauce

imageimageSpaghetti Sauce

* This is a recipe I got from my mom, and it’s my favorite. I quadrupled it, and froze the extra in quart size bags with the amounts and date. And the easiest way to get the tomato paste out is to use the can opener to open both ends, remove the metal disc from one side, flip it over and push the other end all the way through the can and dispose of that end.

2 tablespoons olive oil

4 garlic cloves, minced or 3/4 teaspoon garlic powder

1 cup diced onion (medium onion)

1 tablespoon Italian seasoning (or 1 teaspoon basil, 1 teaspoon oregano, and 1 teaspoon marjoram)

1 15 oz. can tomato sauce

1 6 oz. can tomato paste

1 15 oz can diced tomatoes (or 2 cups coarsely chopped fresh tomatoes)

1 teaspoon salt

1/2 teaspoon black pepper

1-2 teaspoons honey (to taste)

Heat olive oil in a large saucepan over medium high heat, add the onions and saute until translucent (5-6 minutes), add the garlic and saute until fragrant (30 seconds). Add the Italian seasoning/s,tomato sauce, tomatoes, and tomato paste, stir to combine. Add the salt, pepper, and 1 teaspoon of honey, taste and adjust as needed. Bring to a simmer, and then turn to low, cover and simmer for 1-2 hours stirring occasionally. Makes 4 cups, and freezes beautifully.

I love having easy foods ready to go in the freezer so I always make a huge batch and freeze some of it. It makes easy and delicious dinners.

Coconut Butter Stuffed Dates

image

imageCoconut Butter Stuffed Dates

2 cups unsweetened coconut or 1 cup coconut butter (like Nutiva coconut manna)

24 medjool dates, cut open and pitted

To make your own coconut butter at home pour the 2 cups of coconut into your blender jar, or food processor, and blend for 3-8 minutes until it is a thick liquid. (It will take longer in a food processor.) While that is being made slice your dates and remove pits, then spoon in coconut butter and place in fridge to set up for 10 minutes. I keep them in the fridge for up to 2 weeks. The coconut butter will solidify in the fridge, I love them cold, if you prefer let them sit for 10 minutes at room temp before eating. Leftover coconut butter can be saved and used later, for at least 6 weeks.

I LOVE these. They are rich and decadent, and I feel fantastic after eating them. I love not getting the gut bomb feeling after a delicious treat. I figure that is feedback that something is so right.